Modeling A Futuristic Bolt Gun In 3D Studio Max
In this tutorial we are going to model a futuristic bolt gun using different poly modeling techniques and tools inside 3D Studio Max. You'll learn how to avoid mesh errors when smoothing high poly objects by adding supporting edges and more.
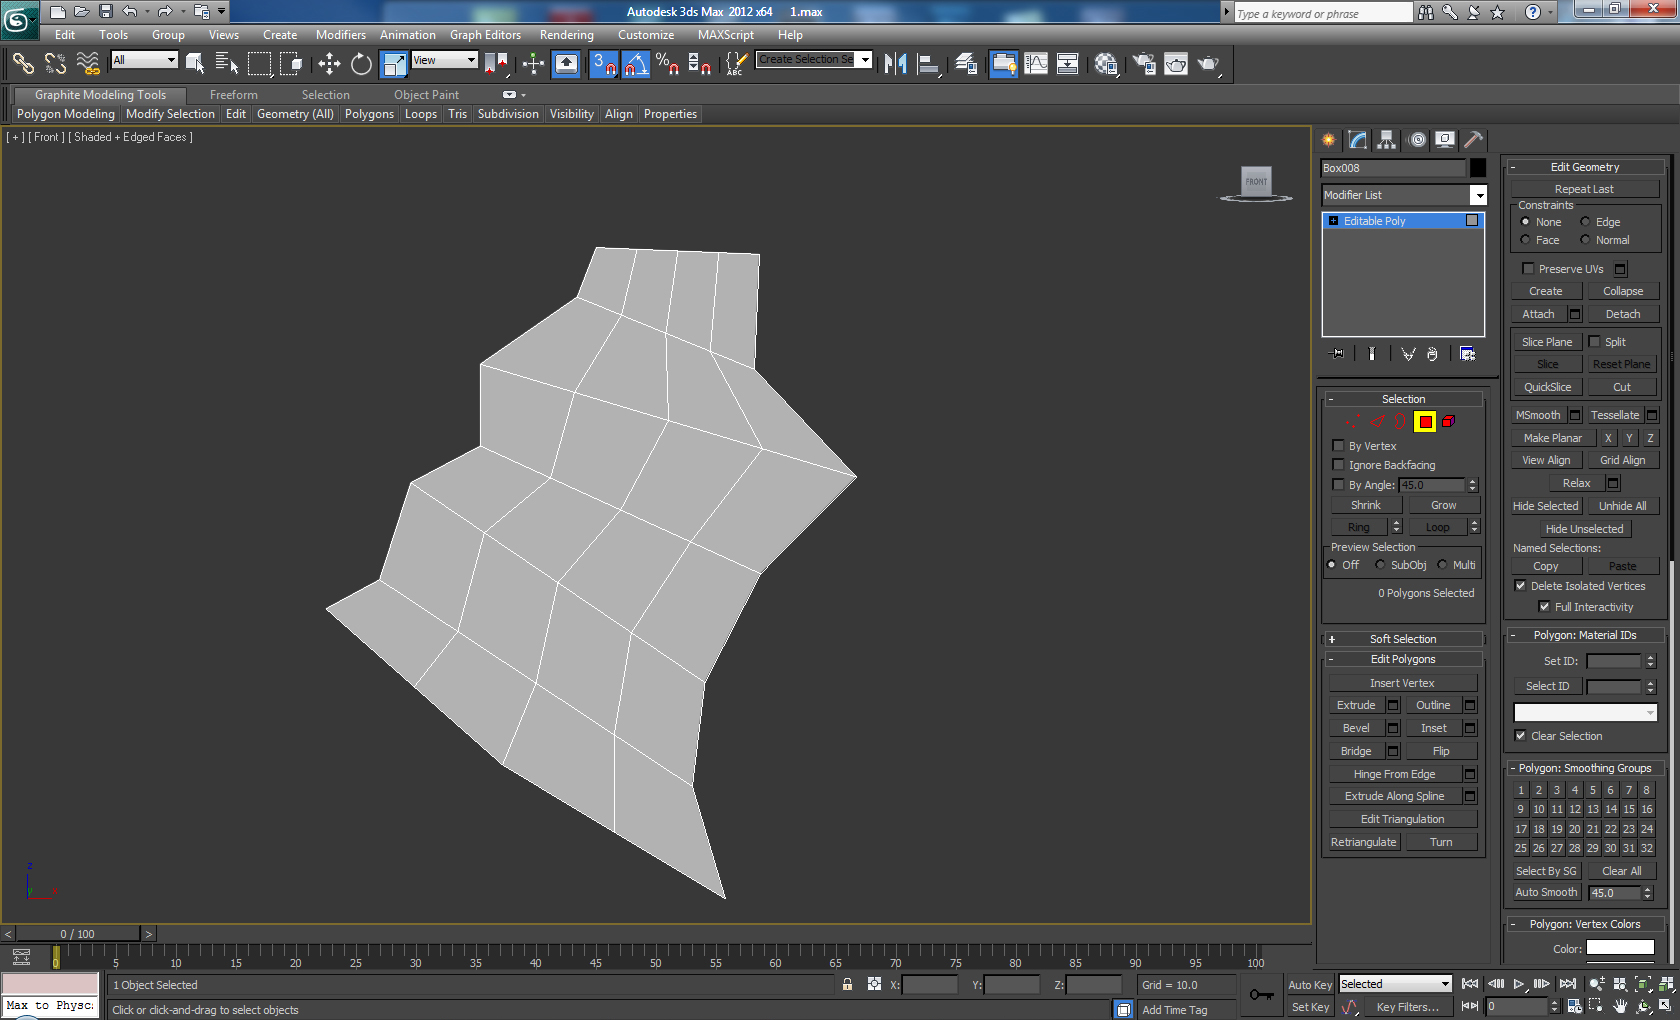
Step 1
Create a box and convert it to Editable Poly (Right Click > Convert To: > Convert to Editable Poly) then add a series of edge loops using Connect, as shown in the image below.
 Click To Enlarge
Step 2
Select the Faces shown below and Extrude them.
 Click To Enlarge
Step 3
Extrude the top front polygons again like so.
 Click To Enlarge
Step 4
Scale down the back group of polygons as well as the next one and delete the top polygon. After that move the vertices in the front part of the weapon where is the targeting system so it looks like in the picture. Finally add two more edges as shown and move the one of the old edges to the top so it is close to the middle edge.
 Click To Enlarge
Step 5
Now select and Extrude the bottom polygons until the result looks like so.
 Click To Enlarge
Step 6
In the spot where the weapon clip will be located, we need to do an inset and then extrude the faces inward. After that add two new edge loops in the middle as you can see in the picture below.
 Click To Enlarge
Step 7
Move the bottom polygons until you get a nice curve like this.
 Click To Enlarge
Step 8
Now add some new edge loops in the places shown below.
 Click To Enlarge
Step 9
Select the polygons highlighted below, and using Extrude - Local Normal. Extrude the polygons with a negative value until it looks like so.
 Click To Enlarge
Step 10
Now add loops in the places shown in the following image.
 Click To Enlarge
Step 11
Add two more edge loops in the places revealed after extruding the polygons inwards.
 Click To Enlarge
Step 12
Add some horizontal edge loops as shown in the picture, in order to avoid mesh problems after adding the Turbosmooth.
 Click To Enlarge
Step 13
Add more loops in the places shown, again to avoid problems with the mesh after we smooth it.
 Click To Enlarge
Step 14
Select the highlighted polygons and Bevel them inward using a negative Height and Outline amount. After that Extrude them inward using a low negative Height value.
 Click To Enlarge
Step 15
Select the polygons marked below and extrude them two times. For the first extrude, use a very low Height in order to get a nice edge when we smooth the shape. And after that extrude it until you get something similar to the result shown in the picture.
 Click To Enlarge
Step 16
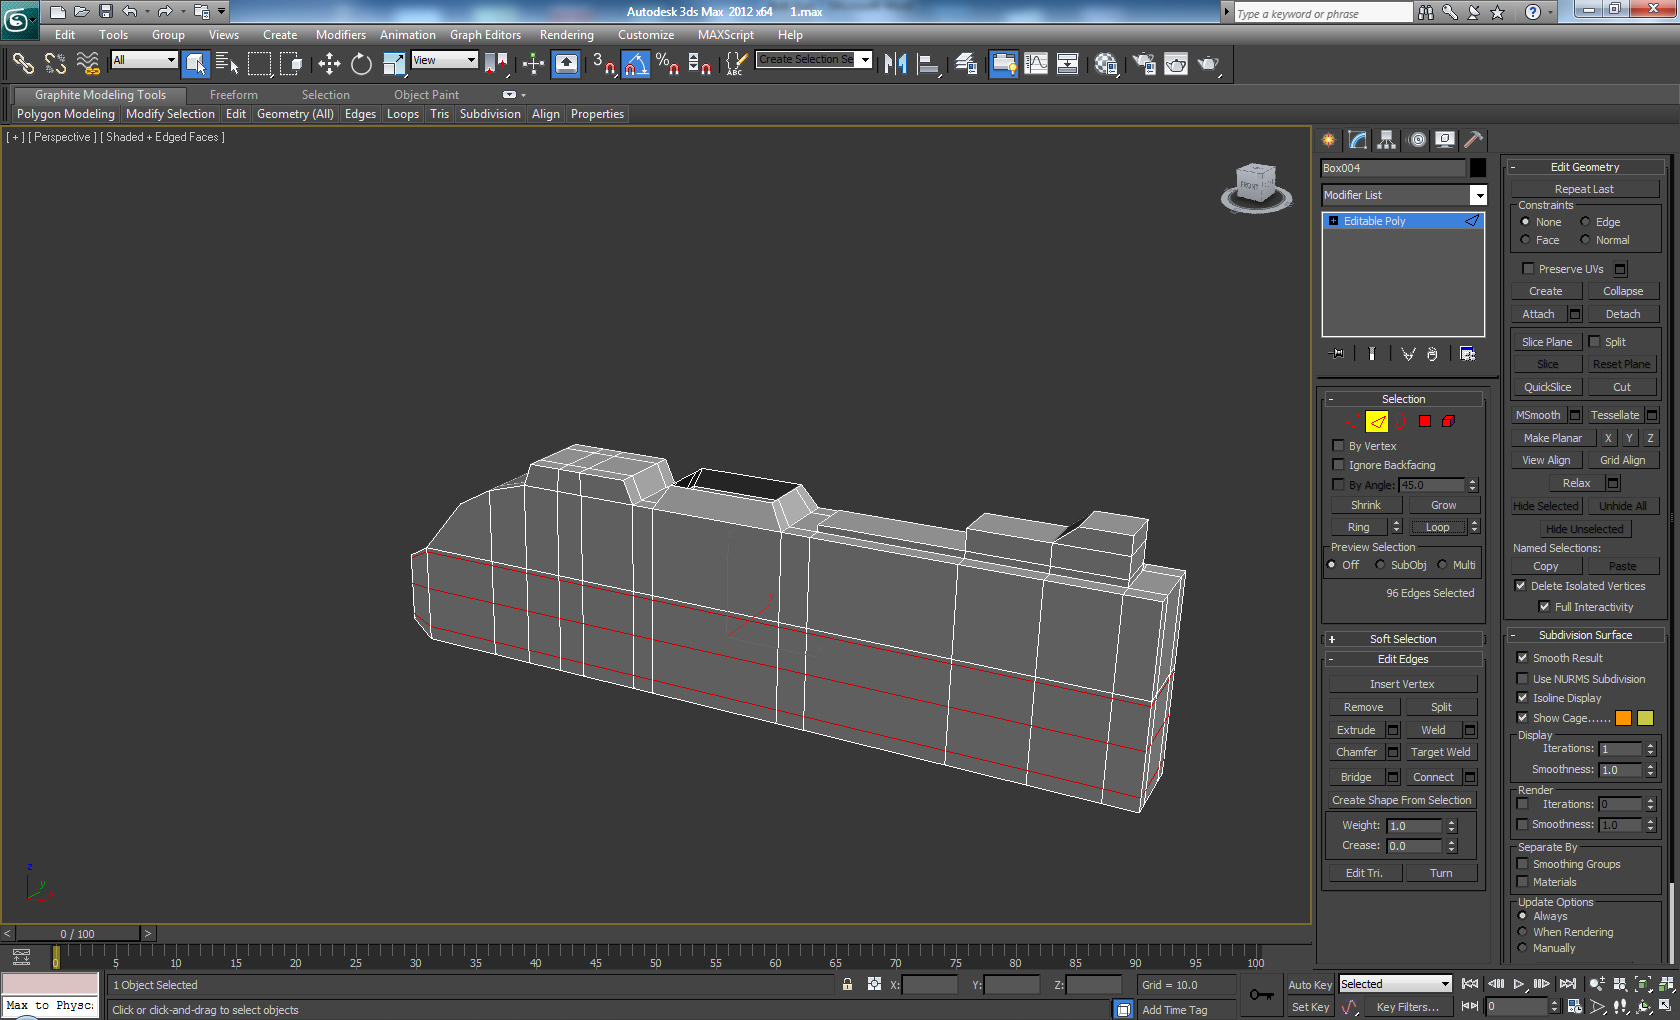
Add two more loops on the bottom of the element as shown, in order to even out the number of the polygons.
 Click To Enlarge
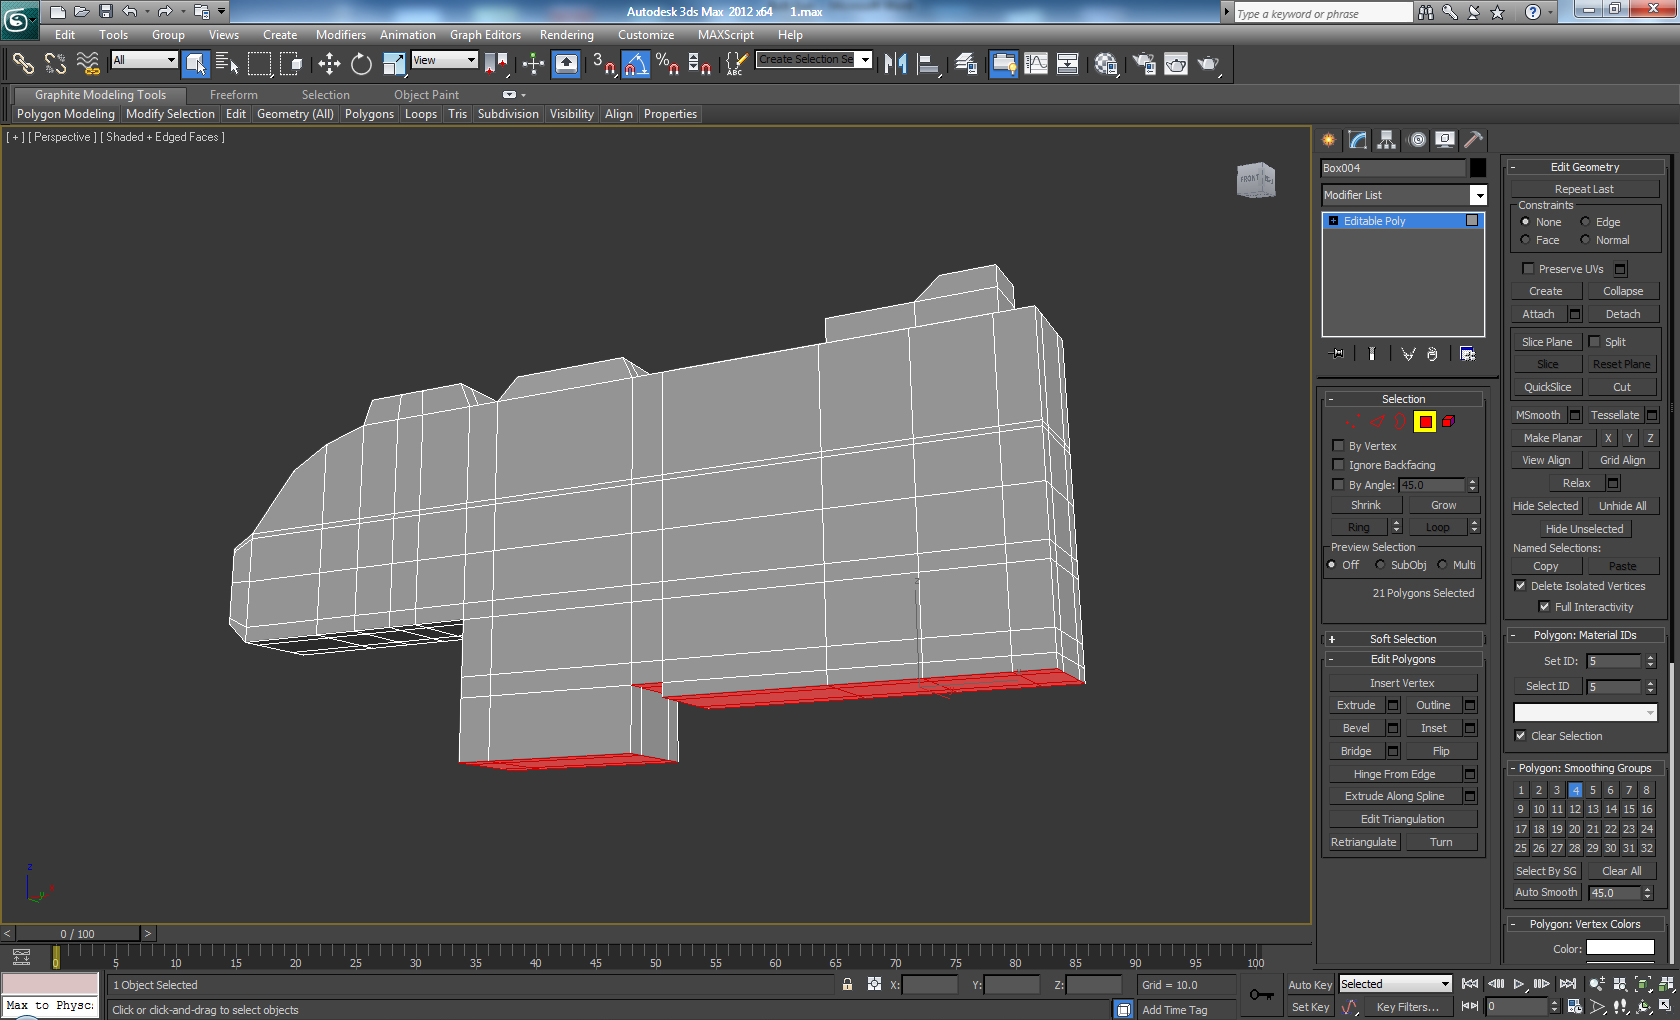
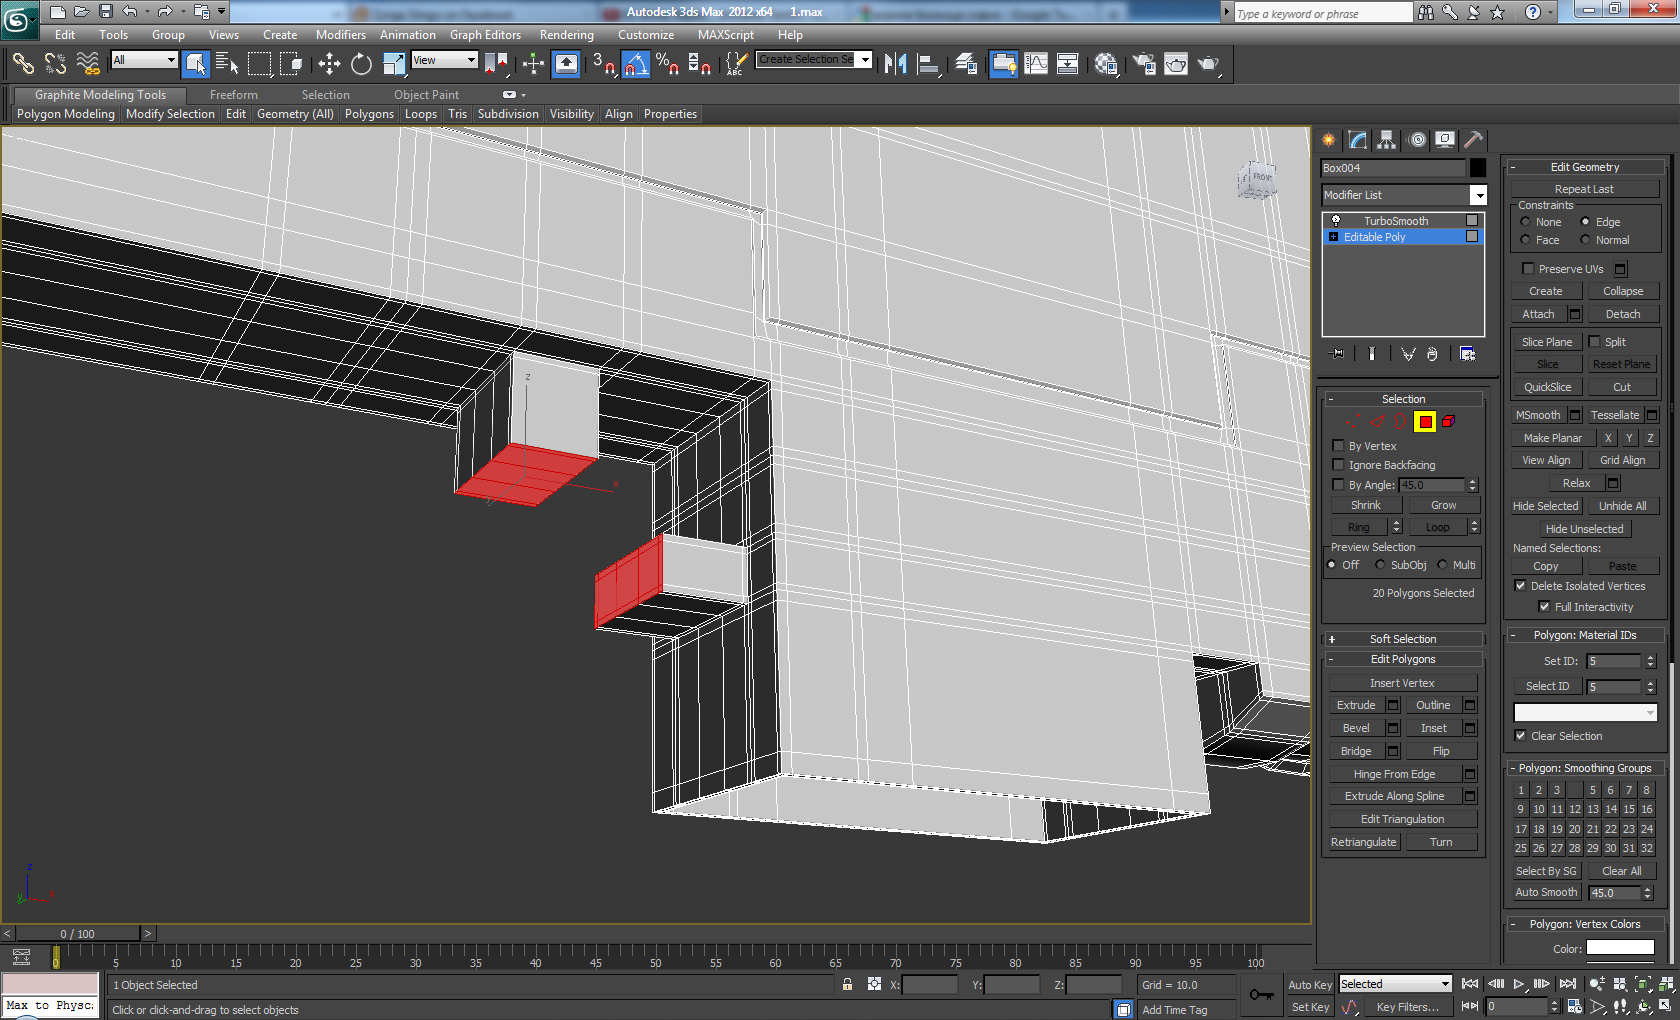
Step 17
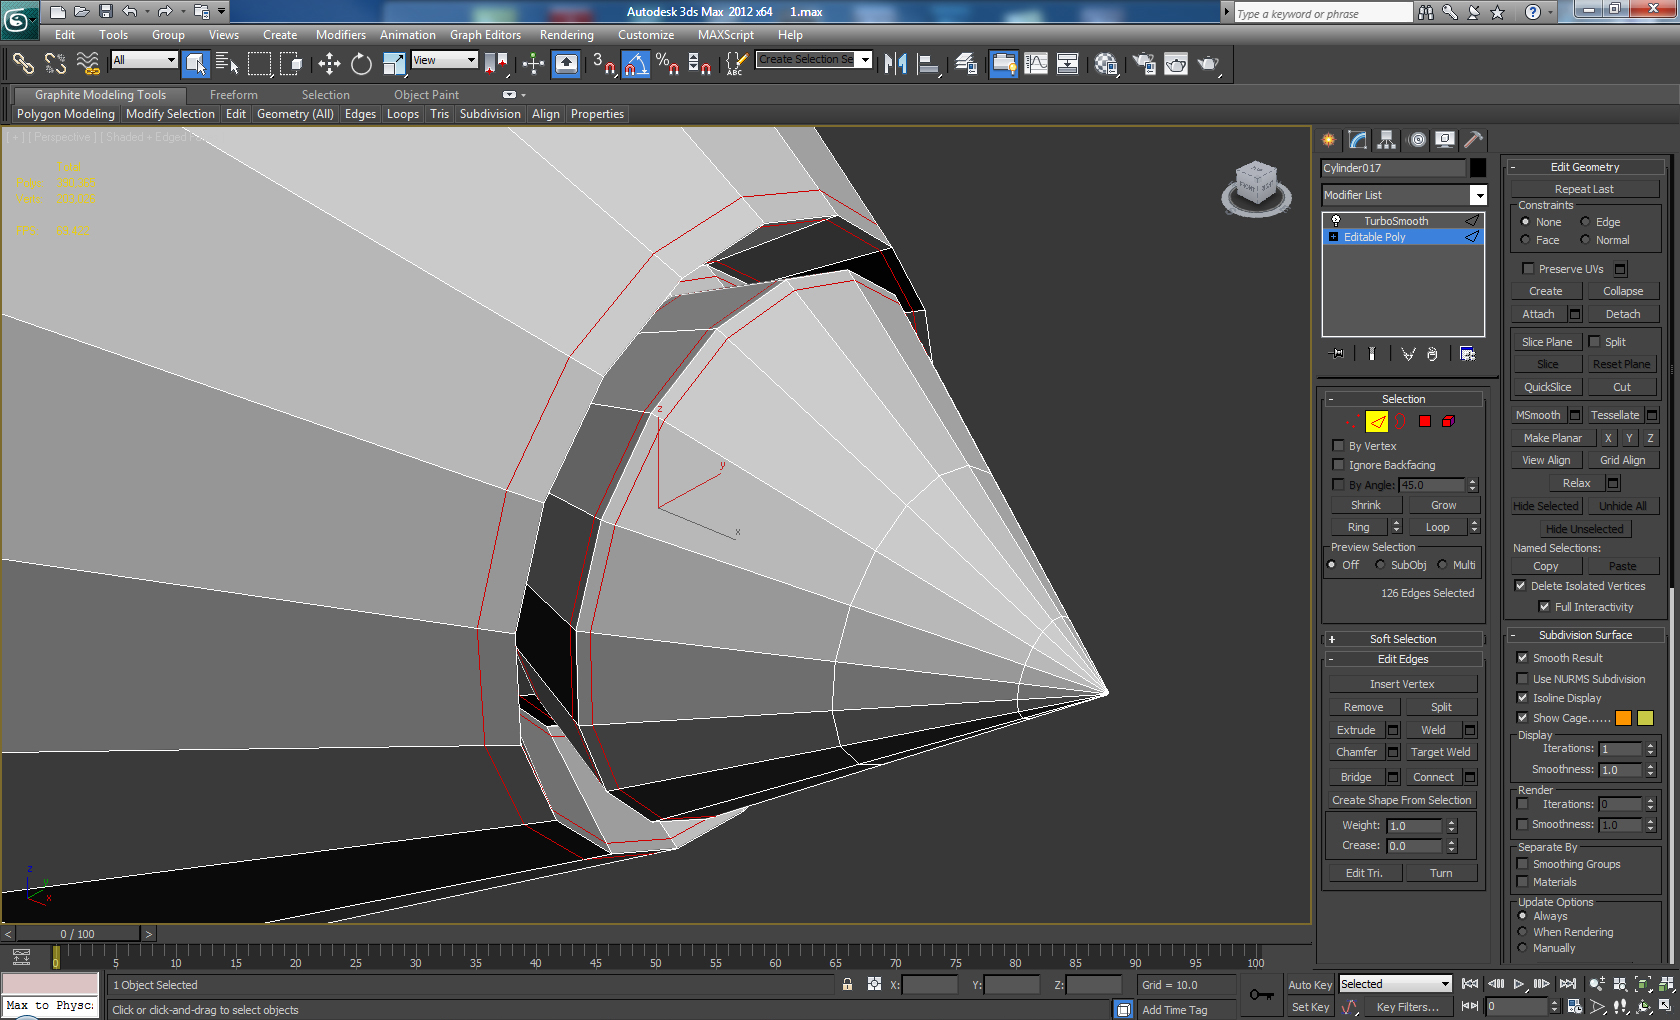
Now select the polygons on both ends, and use the Bridge tool from the Edit Polygons menu with a setting of 2 segments to connect them together (as shown.) If there is a twisting issue, you can fix it using the Twist option.
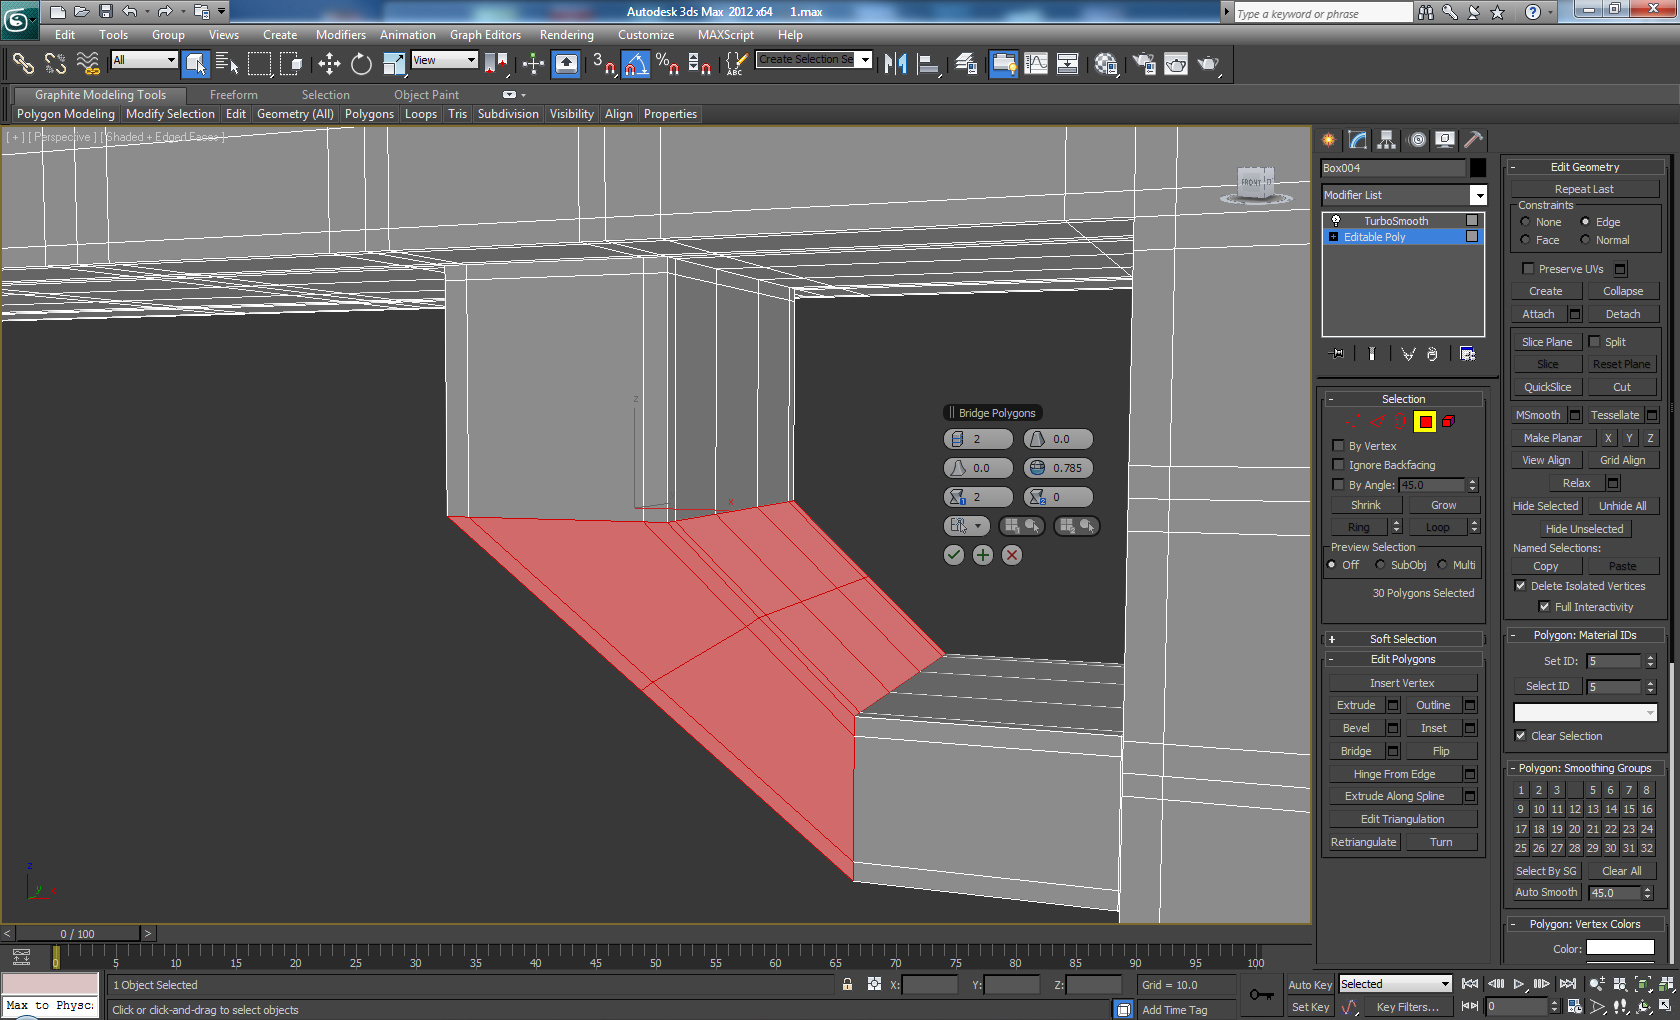 Click To Enlarge
Step 18
Move the segment we just created into this position and use the Scale tool to scale down the vertices on both sides.
 Click To Enlarge
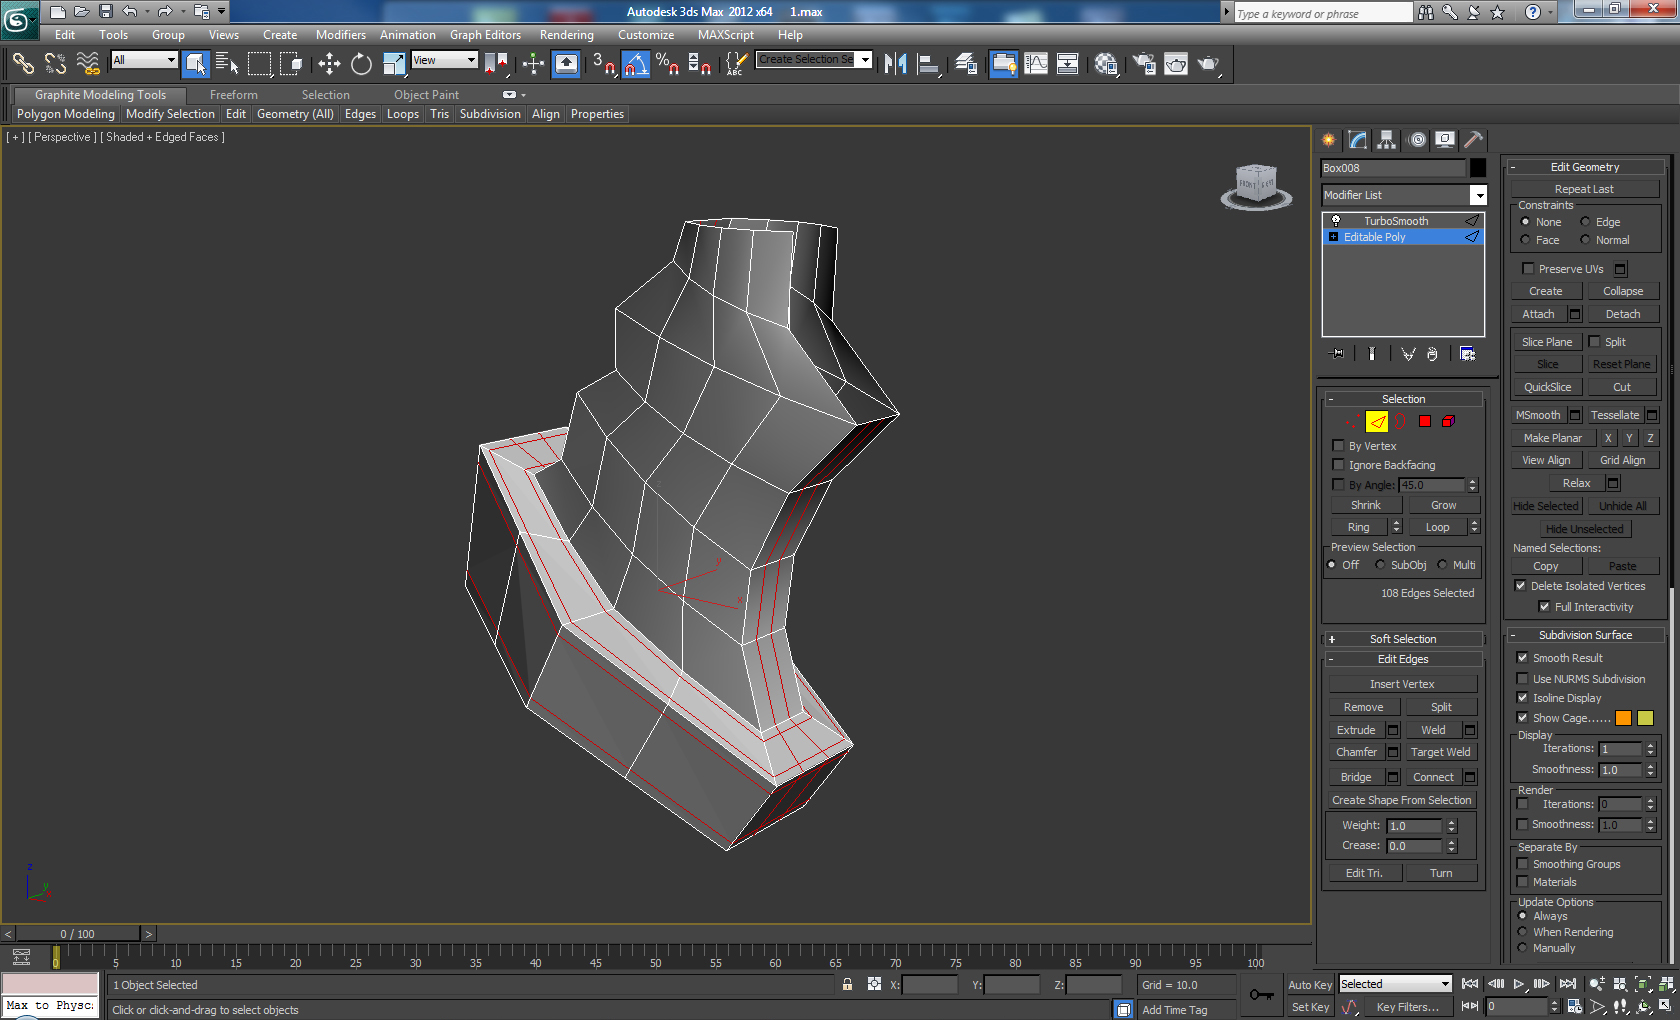
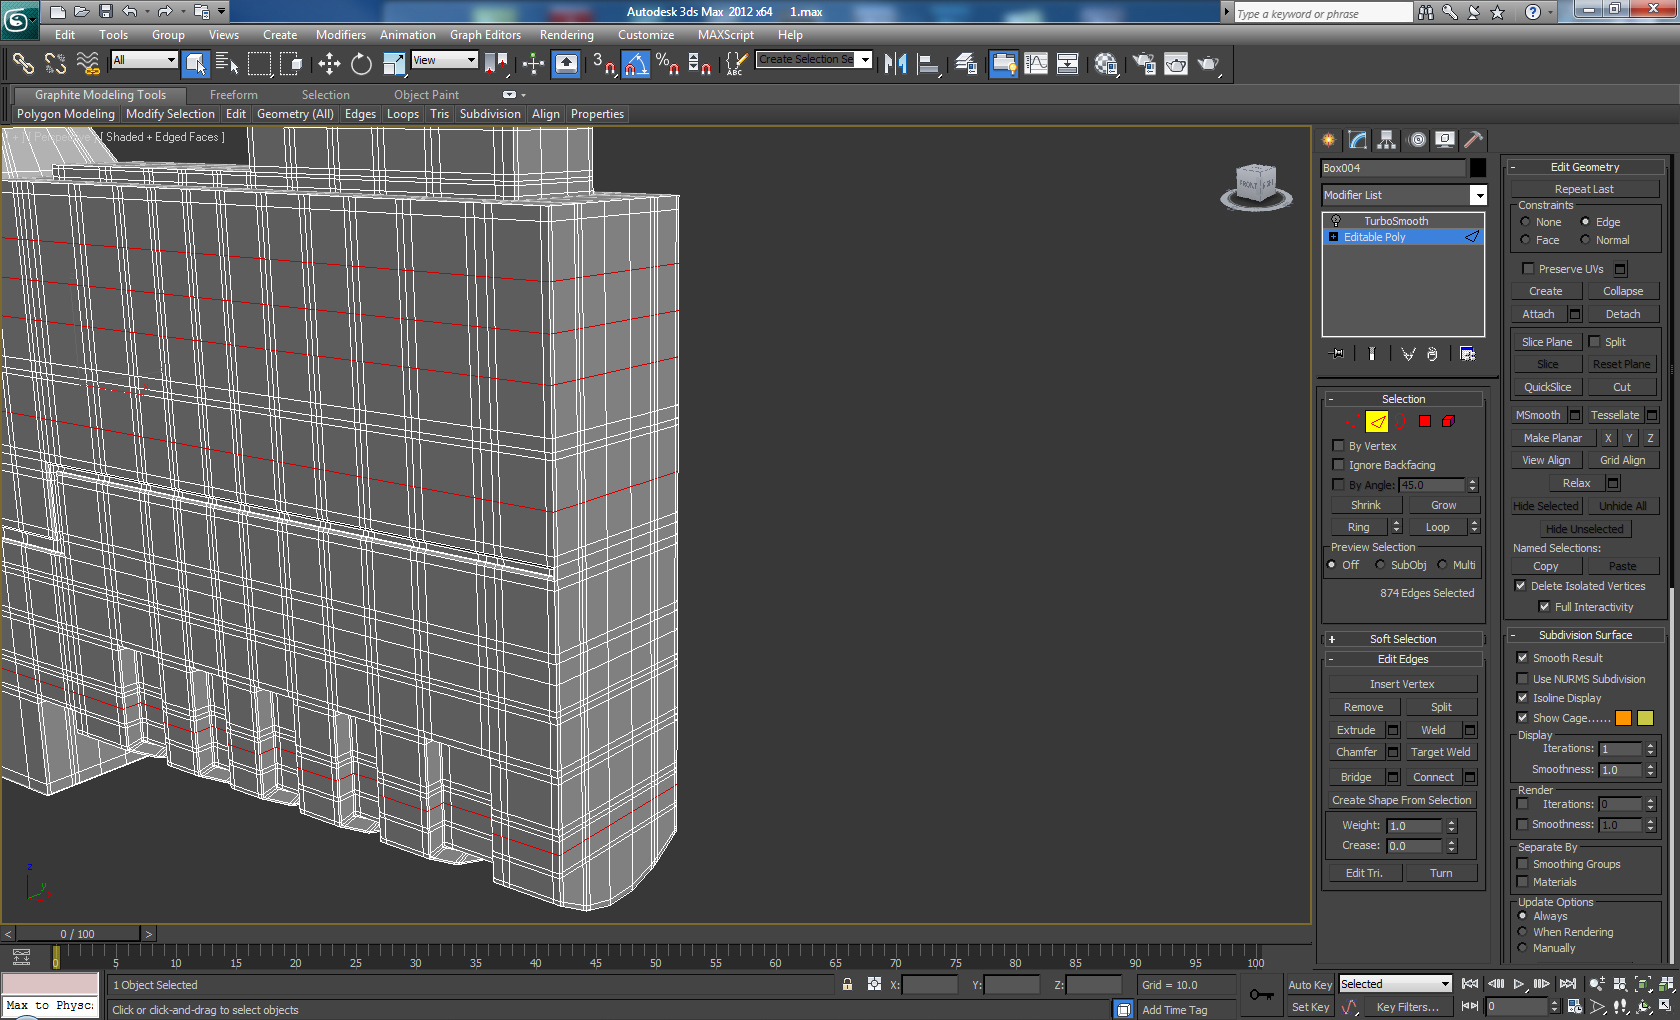
Step 19
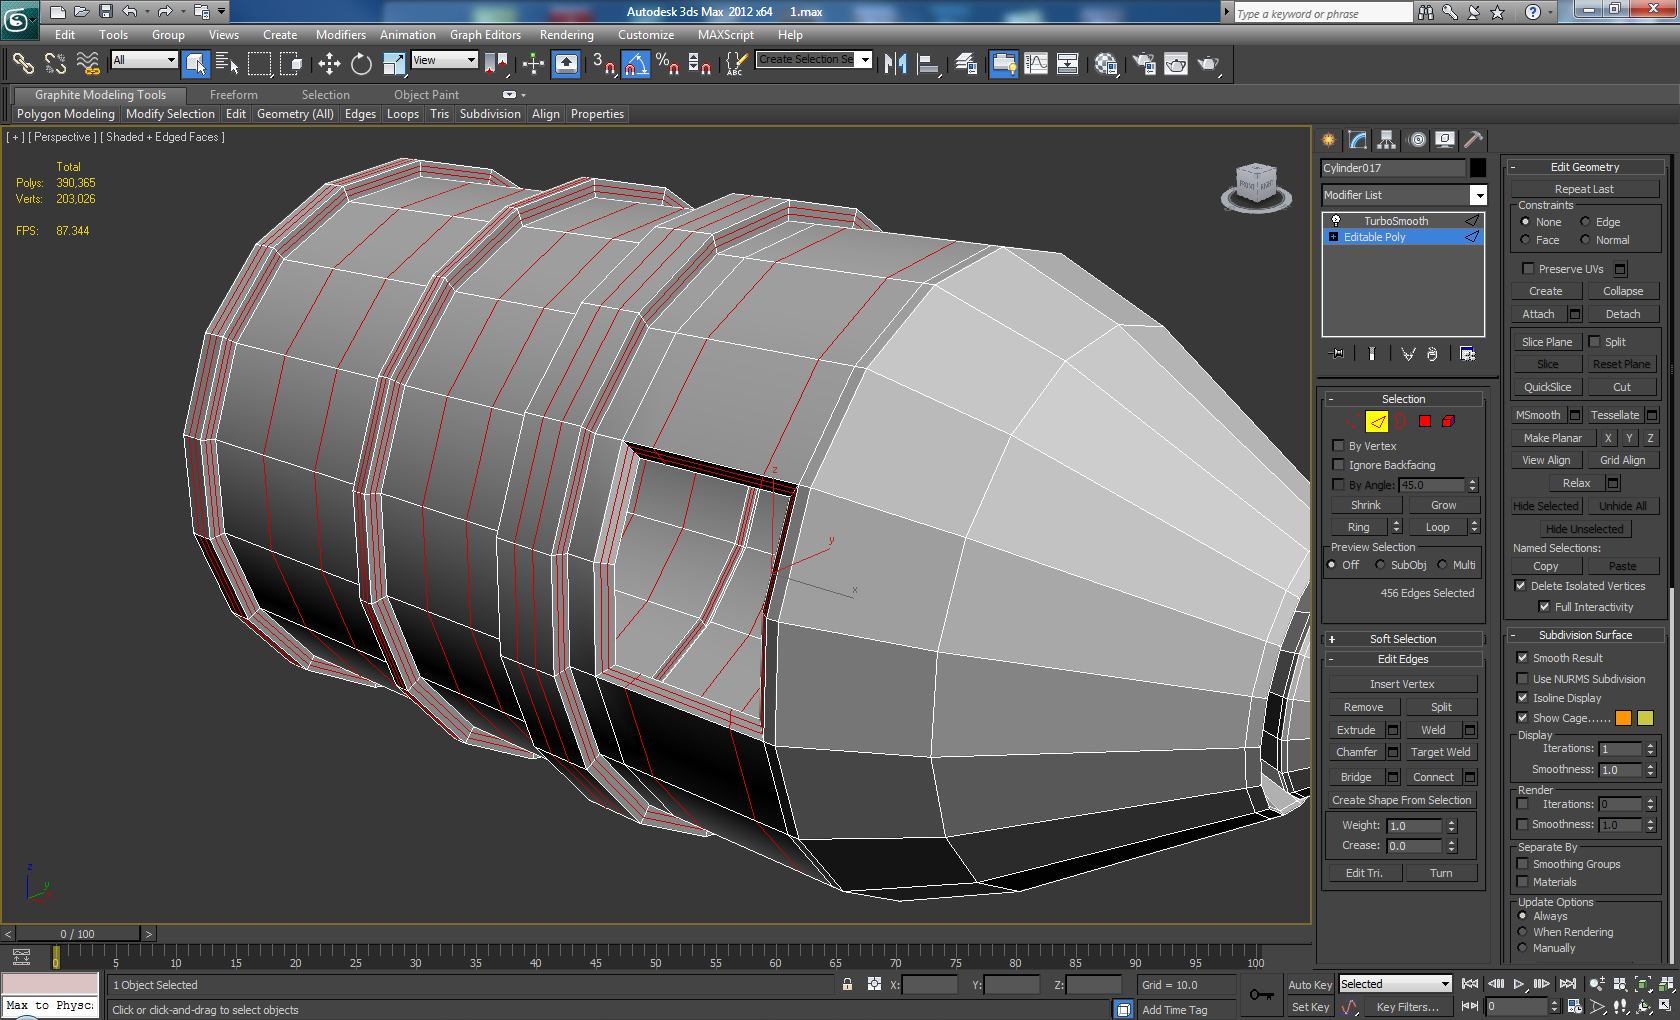
Add more loops in the places shown and add a Turbosmooth modifier - Iterations 2.
 Click To Enlarge
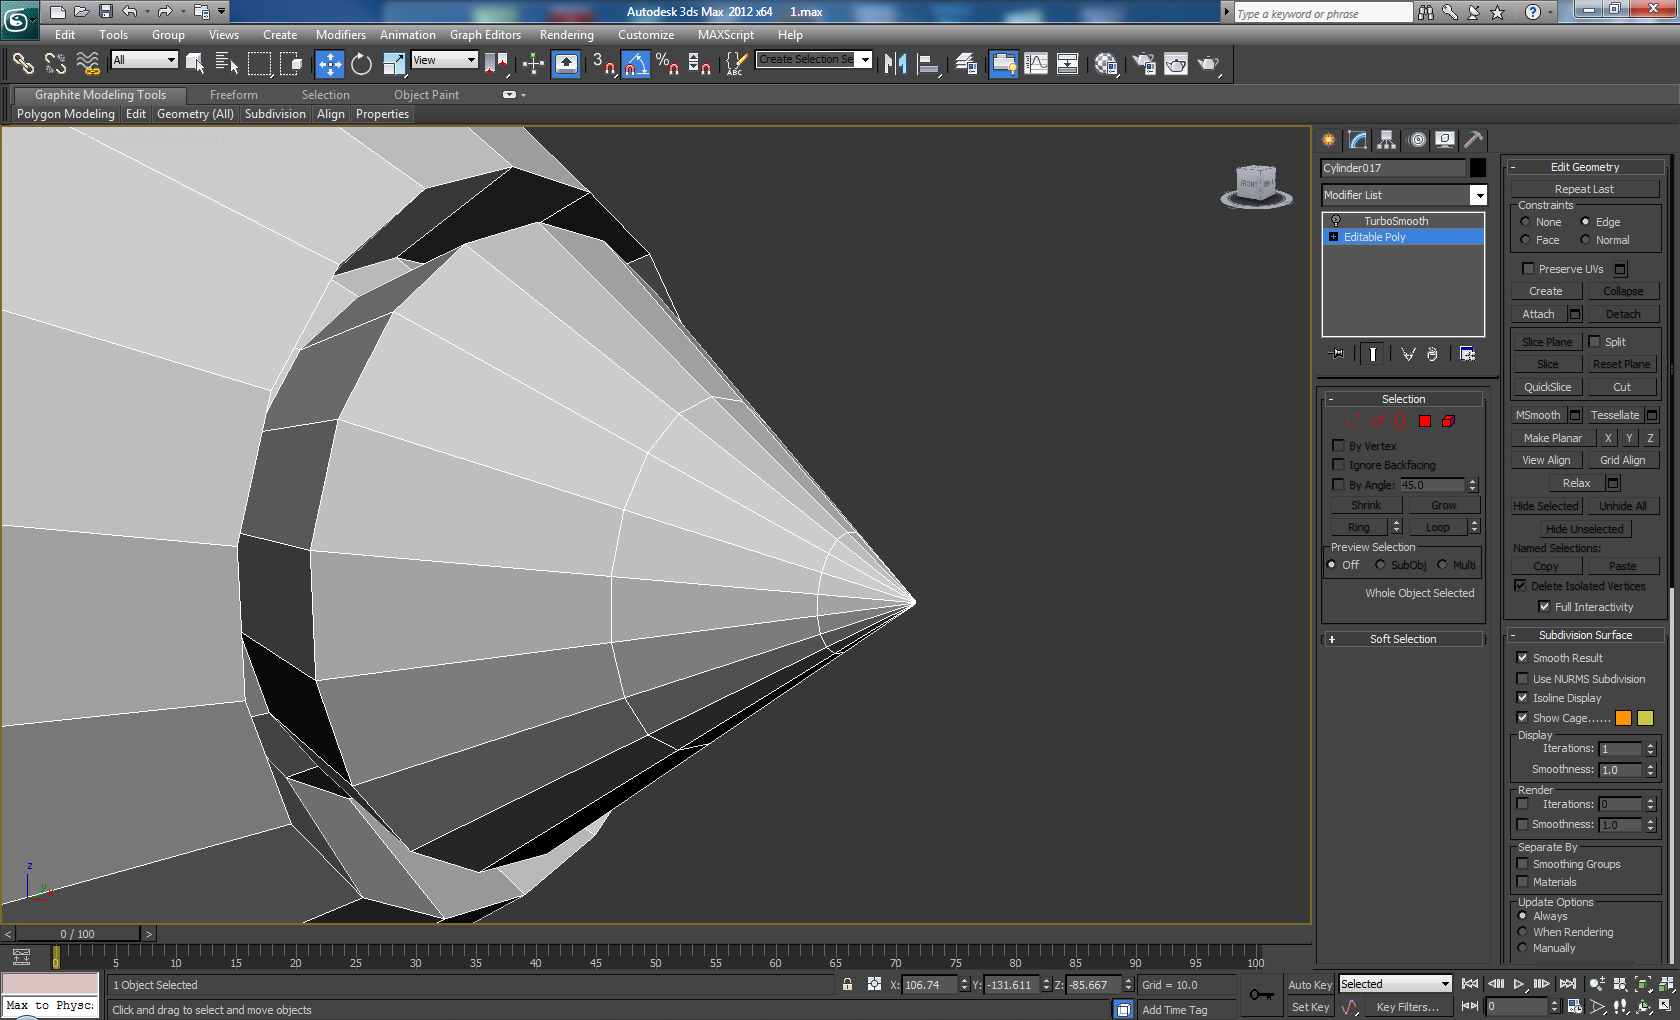
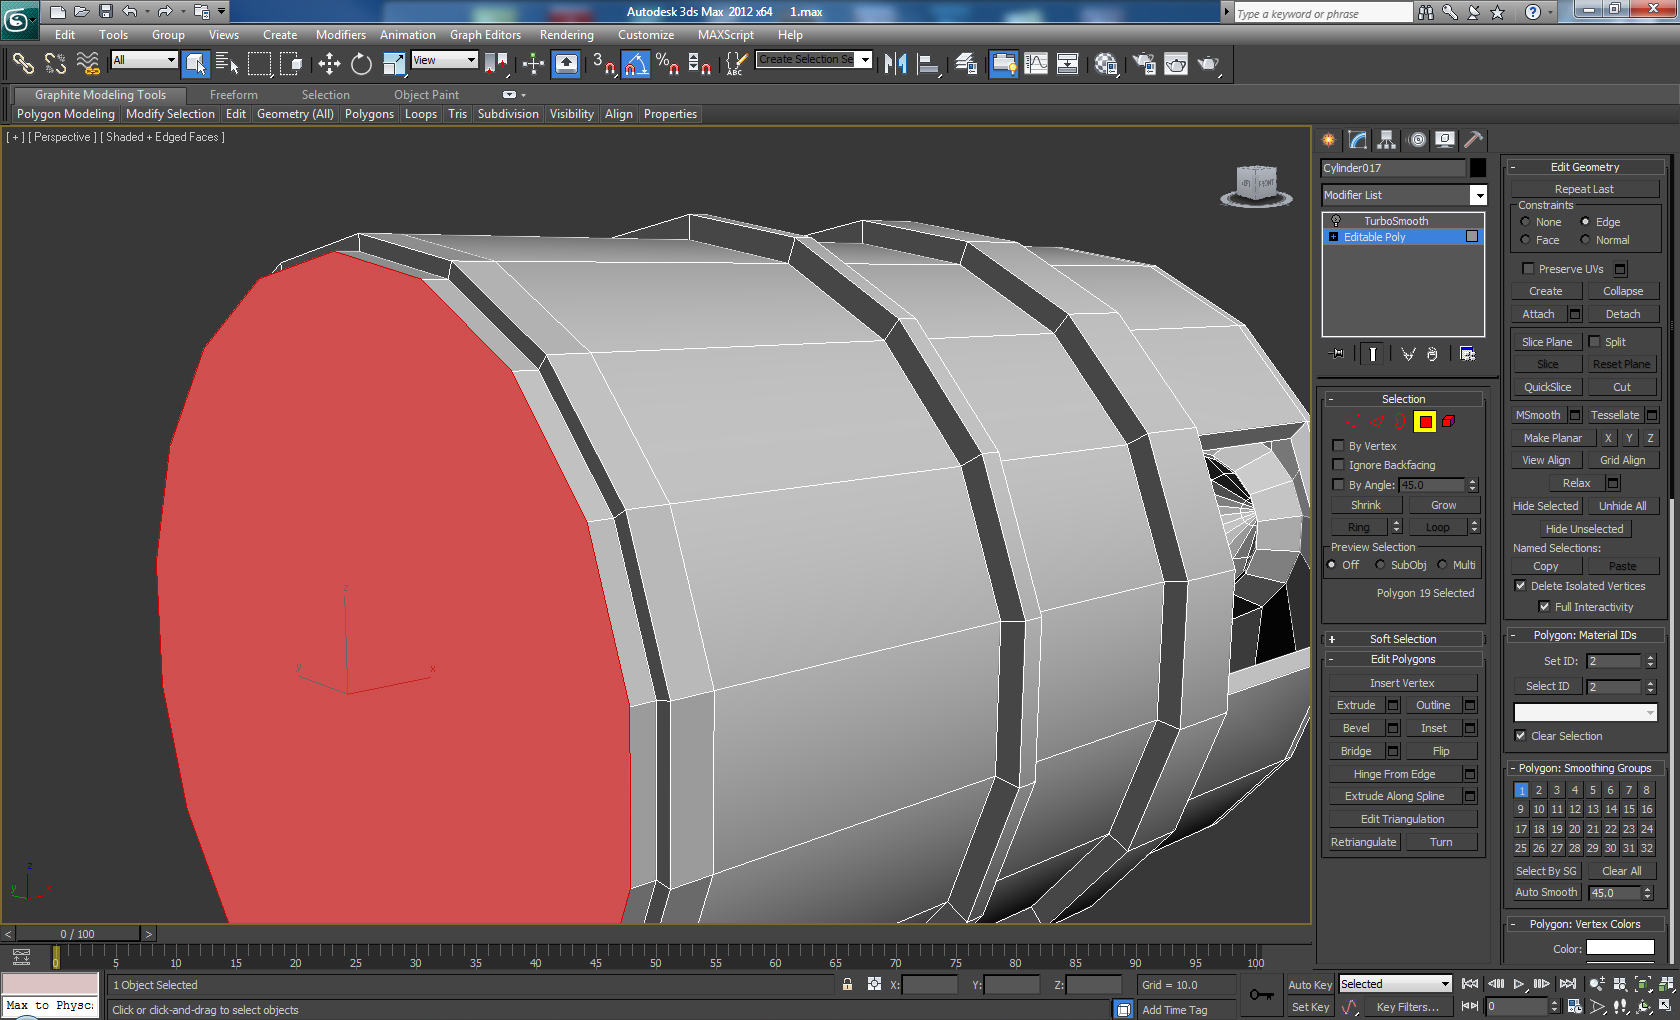
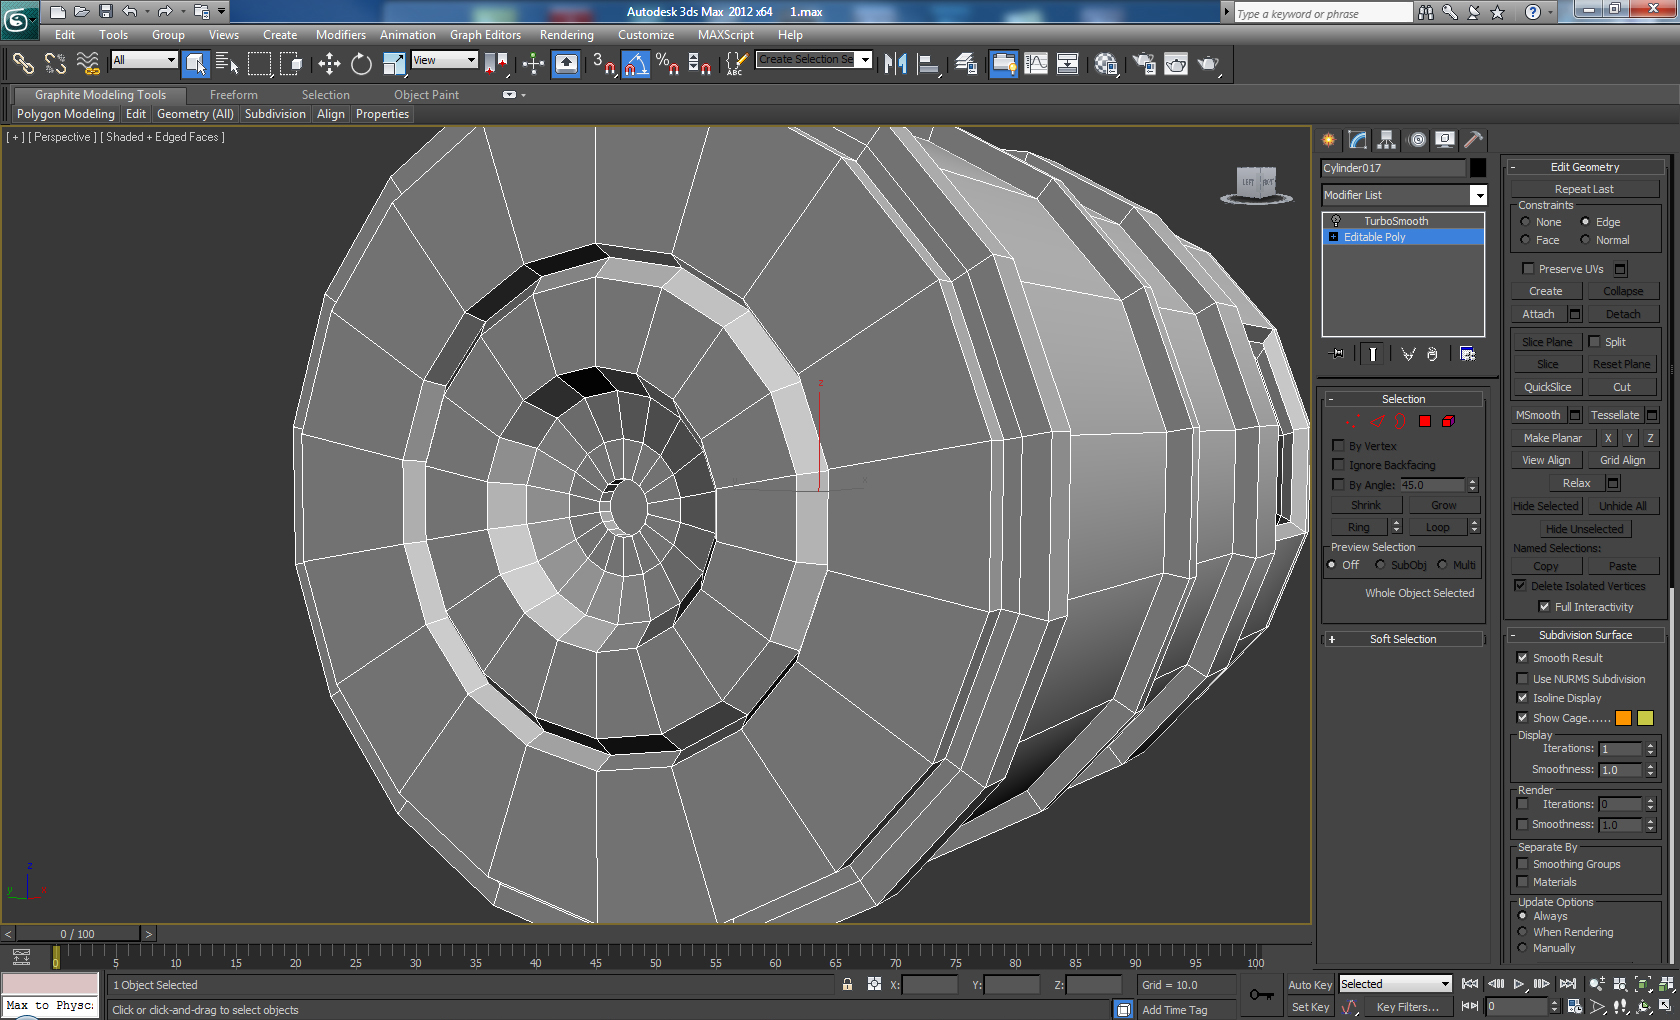
Step 20
The final result of the weapon body should look like this.
 Click To Enlarge
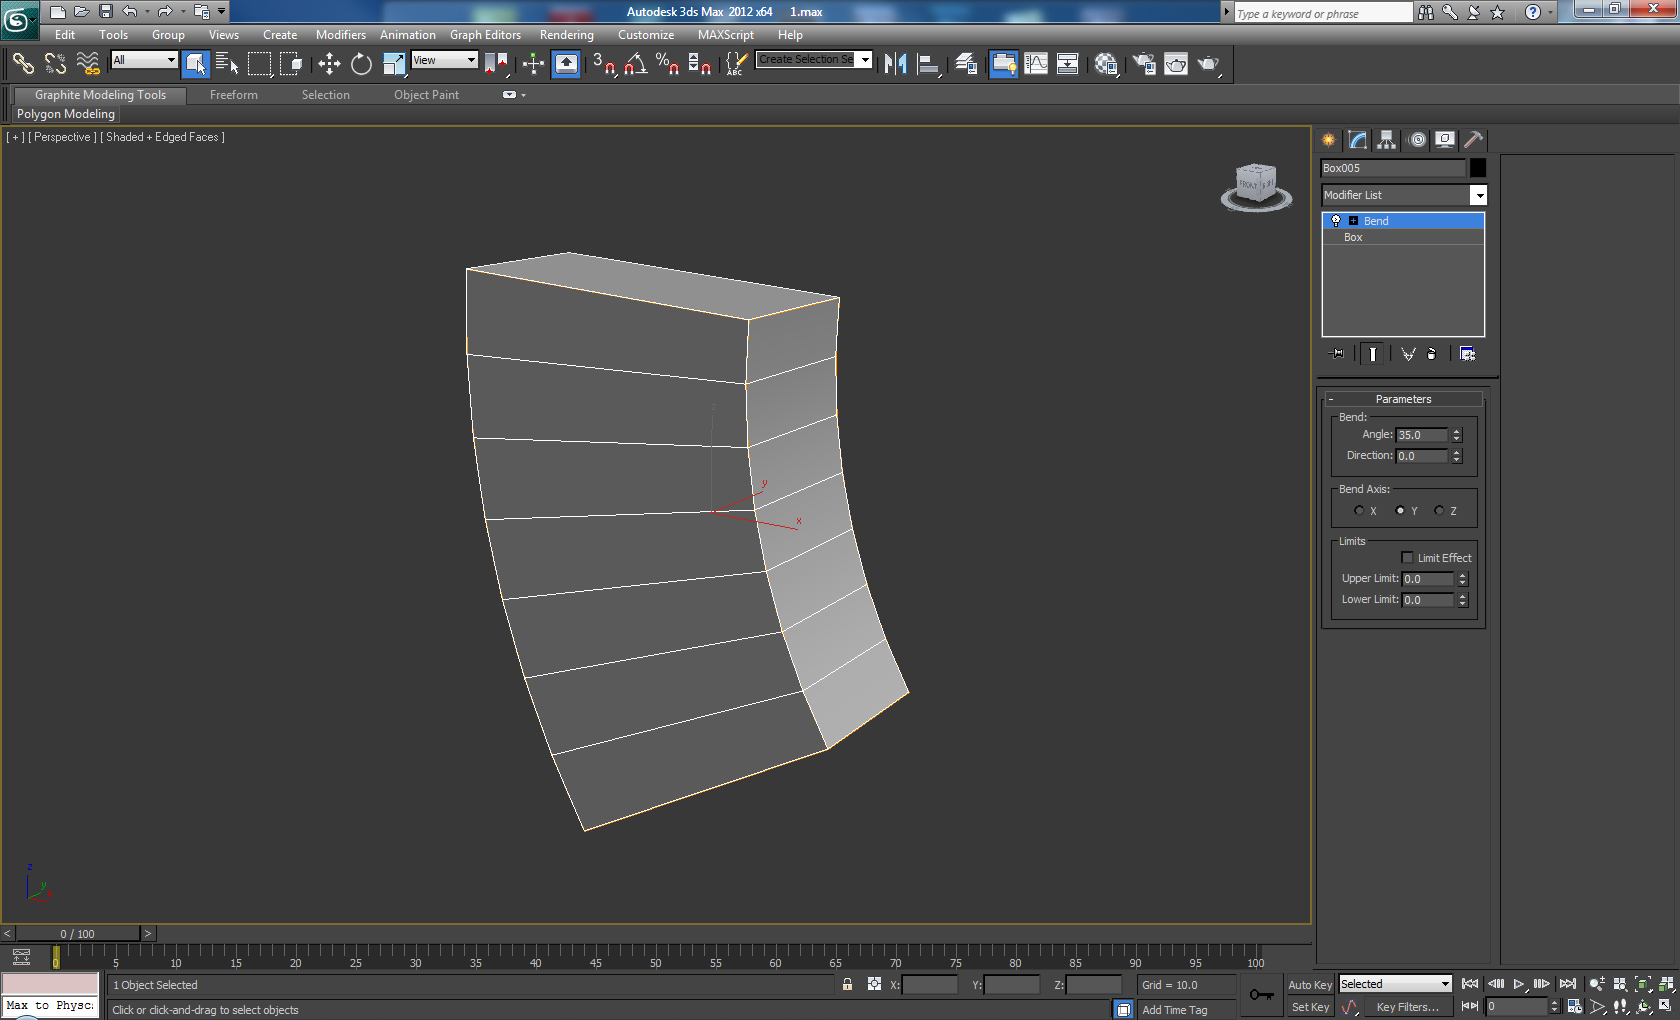
Step 21
Create a new Box object with 7 length segments and add a Bend modifier using the following settings: Angle 35 and choose the right axis for you from the Bend Axis options, in my case this is the Y axis.
 Click To Enlarge
Step 22
Convert it to Editable Poly and Extrude the bottom four polygons outward, then add 5 new edge loops vertically as shown.
 Click To Enlarge
Step 23
Delete the top polygons and Bevel the selected polygons until you get a similar result.
 Click To Enlarge
Step 24
Chamfer the middle loop and then Bevel the bottom four selected polygons.
 Click To Enlarge
Step 25
Add several new edge loops as shown below, in order to get a good shape when we smooth the element.
 Click To Enlarge
Step 26
Add a Turbosmooth modifier - Iterations 2, and place the element where it should be located.
 Click To Enlarge
Step 27
Create a new Box with 3 length segments and convert it into Editable Poly, then Delete the back side polygons like in the picture.
 Click To Enlarge
Step 28
Switch to the Front view and tweak the vertices until you get this shape.
 Click To Enlarge
Step 29
Select the two middle loops and Chamfer them with Segments set to 6 with a higher amount. The result should look like this.
 Click To Enlarge
Step 30
Repeat the same procedure, but this time on the side edges with a lower Chamfer amount.
 Click To Enlarge
Step 31
Add smoothing and place the trigger in its place.
 Click To Enlarge
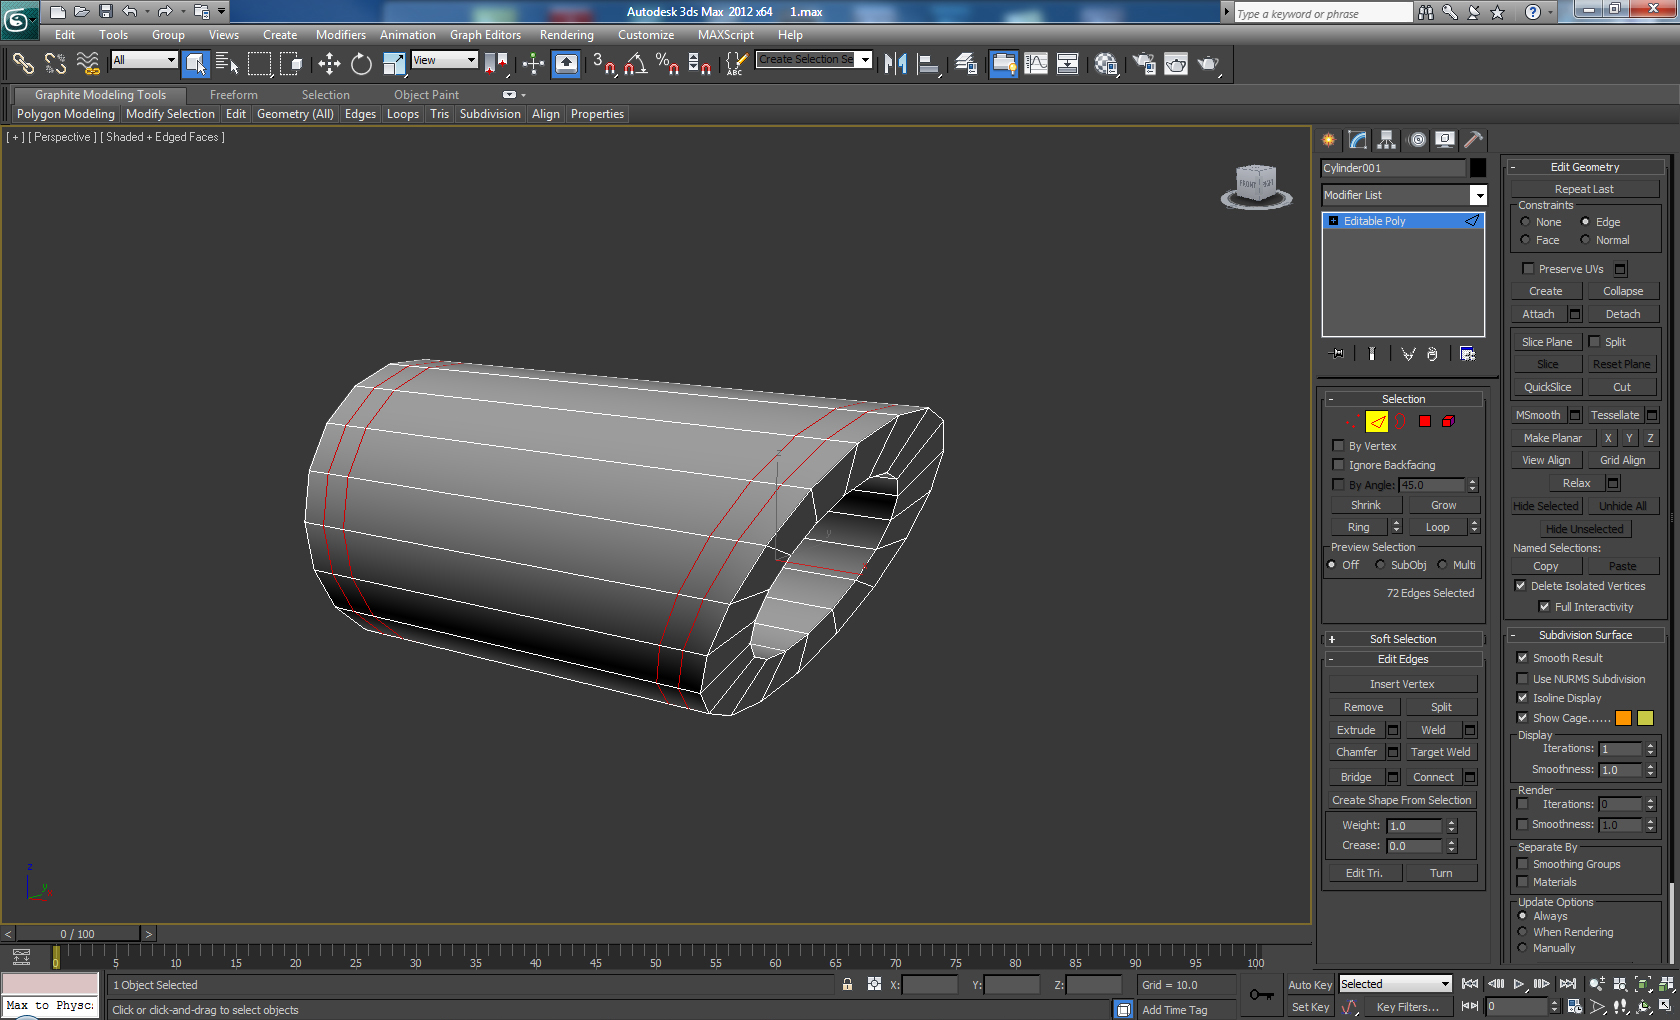
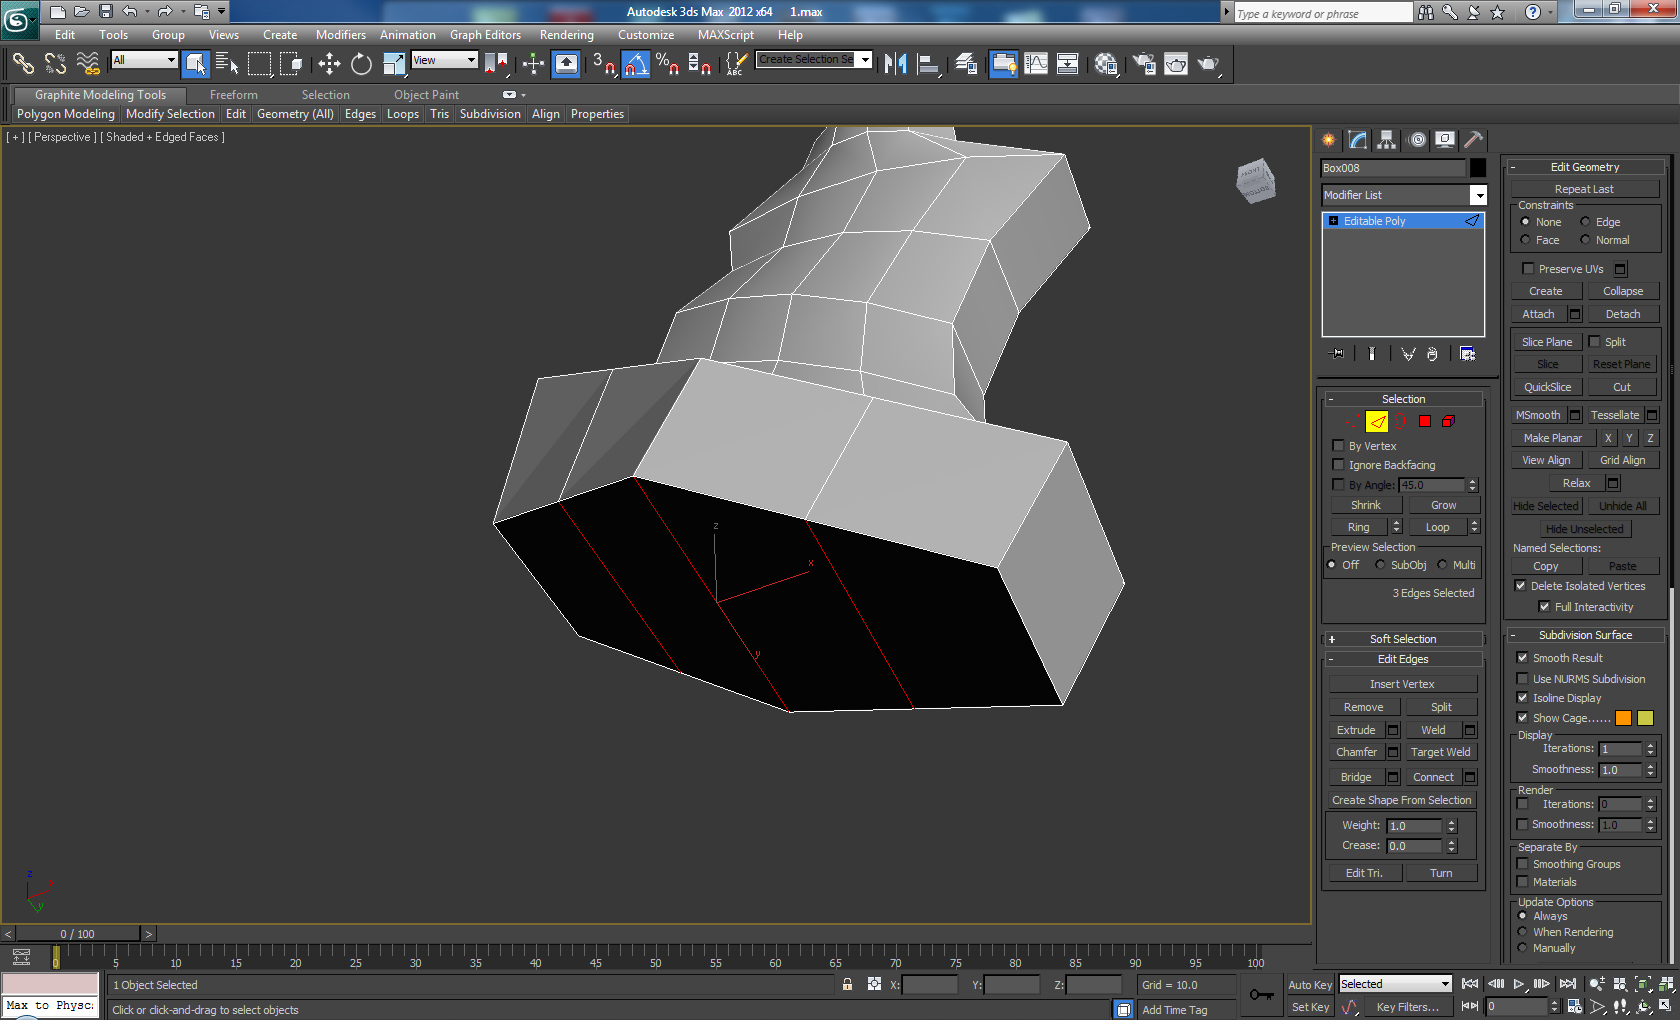
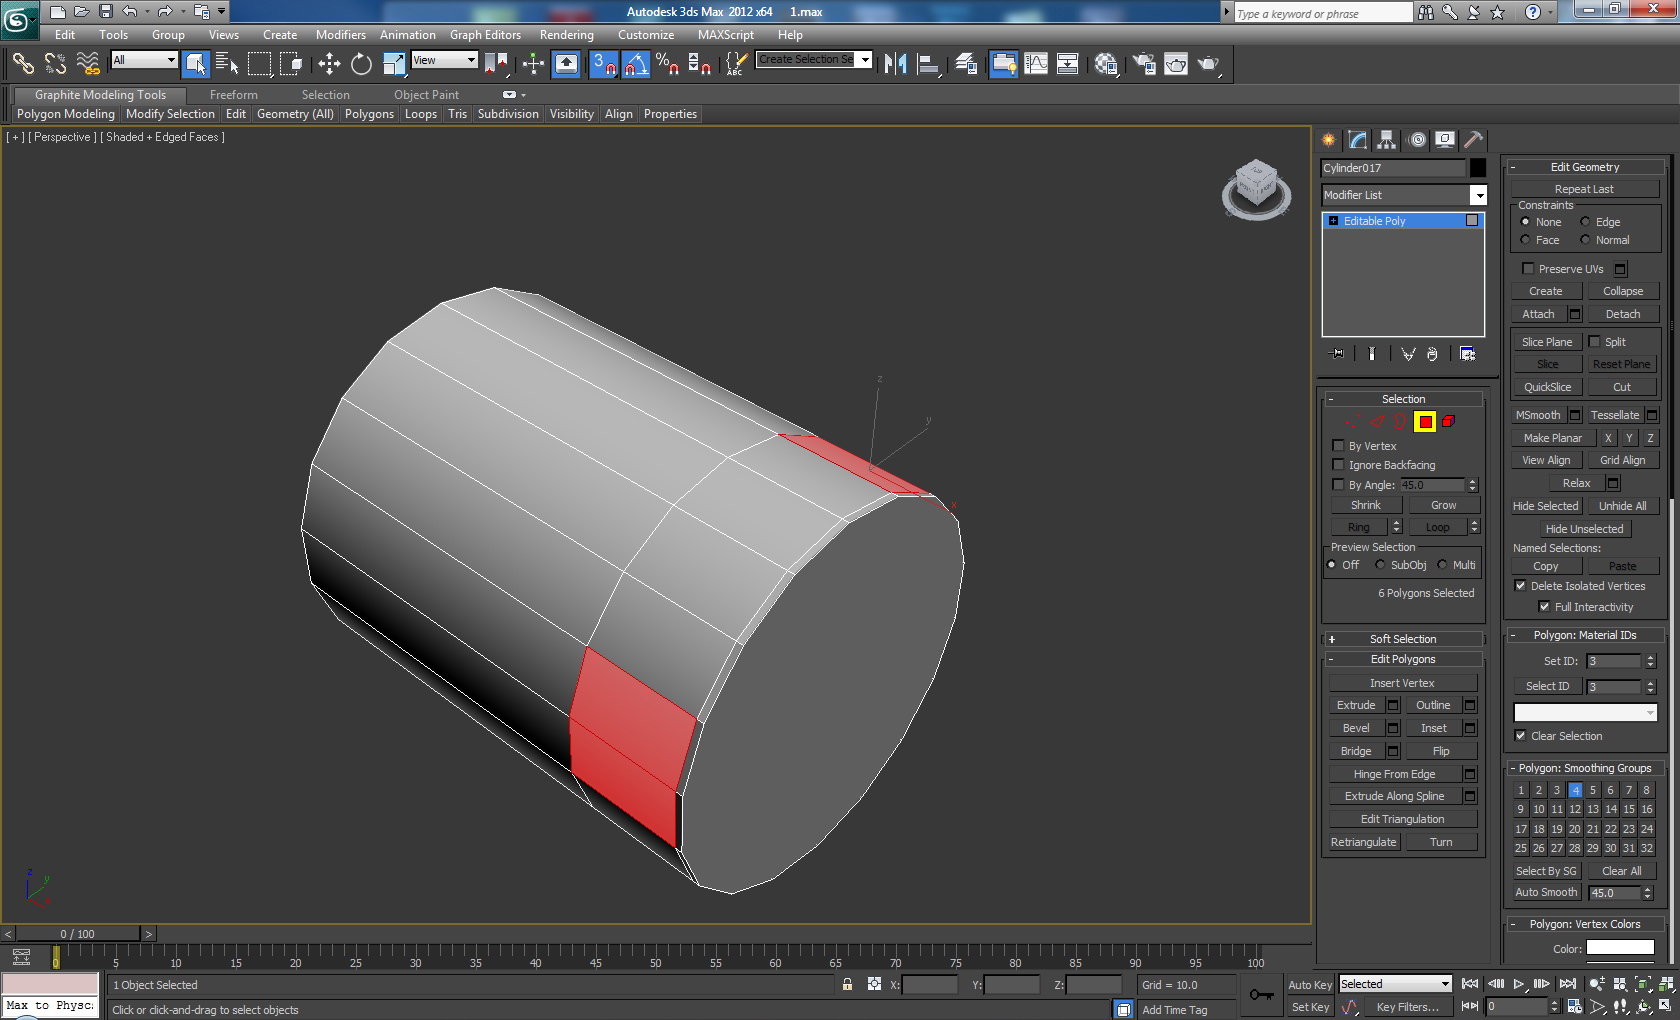
Step 32
Create a new Cylinder object with 2 Height segments and convert it into Editable Poly. Then select the center edge loop, and from the Edit Geometry menu choose > constrains - edge. After that Rotate the loop to create an angle and move it closer to the end, as shown.
 Click To Enlarge
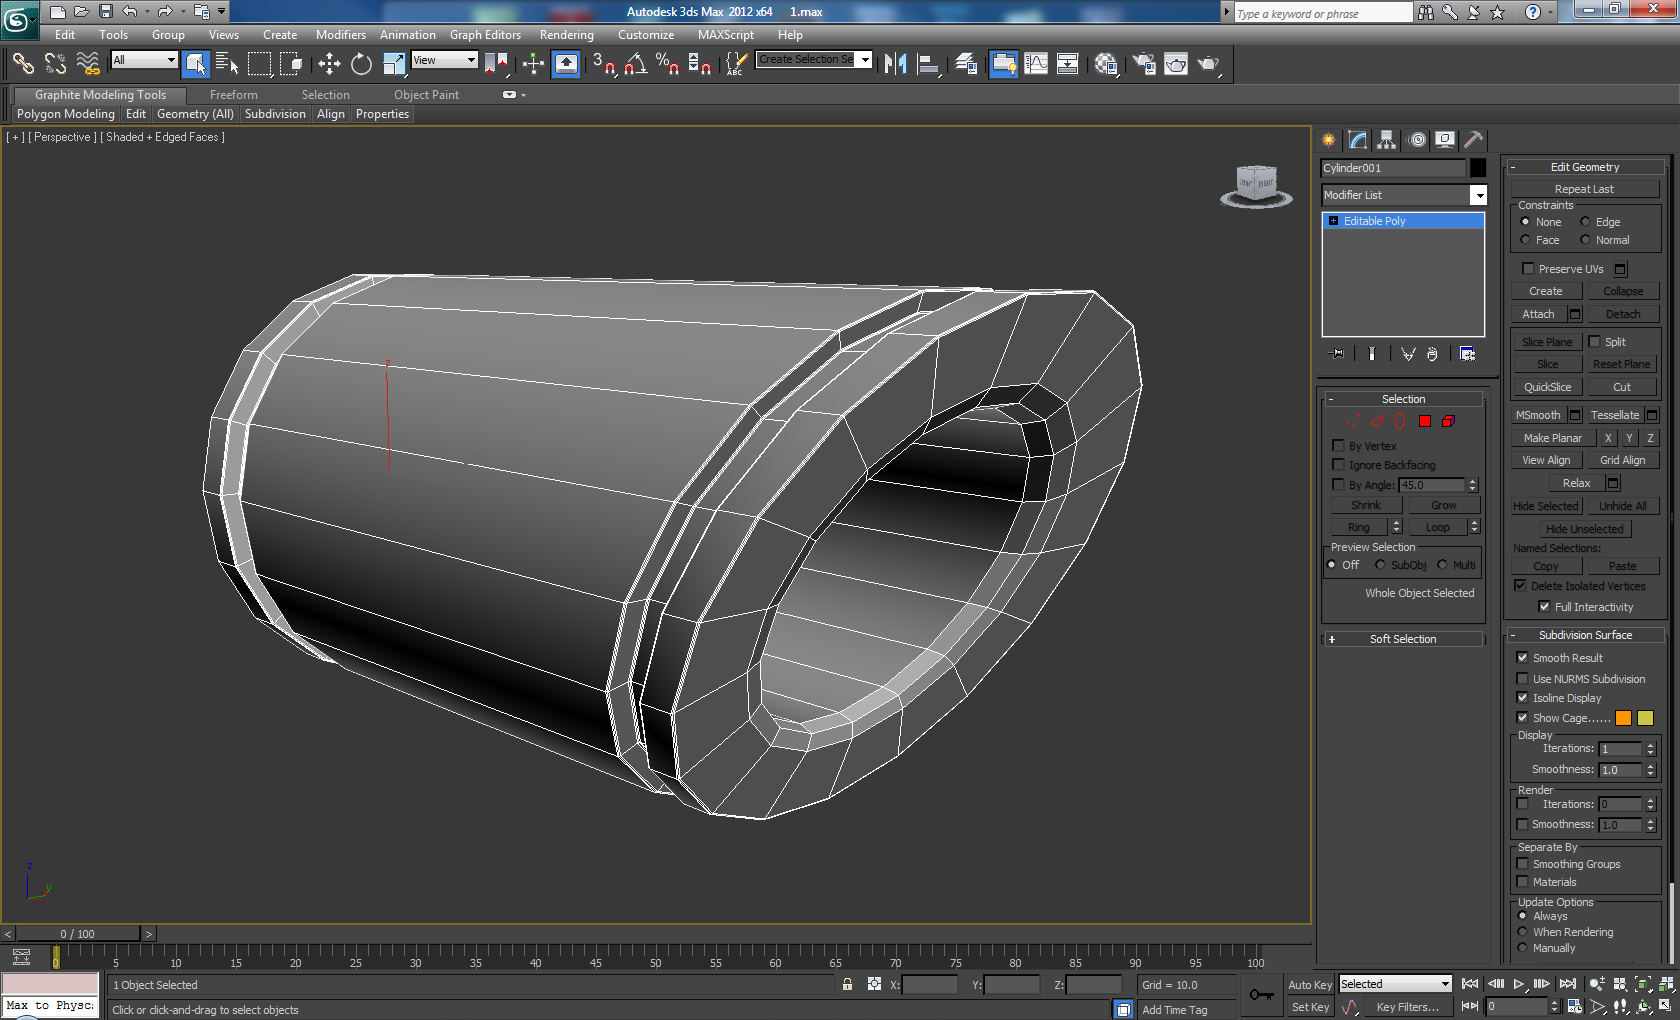
Step 33
Delete the selected polygons.
 Click To Enlarge
Step 34
After we have deleted the front polygons, select the front and back Border edges and from the Constraints options in the Edit Geometry rollout, set it back to None. Using Shift+Drag and the Scale tool, decrease the radius of the holes on each end and then choose Bridge to connect them together.
 Click To Enlarge
Step 35
Add two new loops to the front and back side as shown.
 Click To Enlarge
Step 36
Select the polygons in between the loops and extrude them inwards until it looks like so.
 Click To Enlarge
Step 37
Add a Chamfer to all the loops except the two inner loops. Use a low Chamfer amount and set the number of edges to 2. After that Chamfer the inside two loops, but use a higher Chamfer amount and again set the Edge Segments to 2.
 Click To Enlarge
Step 38
Add Turbosmooth - Iterations 2 and place the element as shown.
 Click To Enlarge
Step 39
Create a new Cylinder like the previous one, and use the same techniques to give it such a shape.
 Click To Enlarge
Step 40
Use Shift+Scale/Move on the front part to get something like this.
 Click To Enlarge
Step 41
Create two new edge loops inside the front part of the element, and do the same on the outside surface as shown. Then select the polygons between the new loops and Extrude them inwards.
 Click To Enlarge
Step 42
As we did previously, Chamfer the edges loops with a low amount and set the "Connect Edge Segments" to two. Then add a Turbosmooth with 2 Iterations.
 Click To Enlarge
Step 43
Create new cylinders for the glass and rotate them to the same angle as our shape. Place them on the inside where we Extruded the inside loops of polygons.
 Click To Enlarge
Step 44
Create a new Cylinder with the following settings - Height Segments: 1, Cap Segments: 2, Sides 32. Then convert it to Editable Poly and delete the back polygons. Move the polygons in the center forward, and then Inset them as shown.
 Click To Enlarge
Step 45
Select the polygons between the front two loops (that were created by the Inset,) and Extrude them inwards. Once again, Chamfer the edges with a low amount and a few edge segments. Then add a Smooth modifier.
 Click To Enlarge
Step 46
Place the element as shown. Next create a few copies using Edit> Clone, and Scale them down using the Scale tool. And place them in the locations shown below.
 Click To Enlarge
div>
Step 47
Now we need to go back to the main body and fix some problems with the mesh. Select the marked edge loops, and move them closer to the corners in order to get a better shape when we smooth it.
 Click To Enlarge
Step 48
Add two more loops as shown below, and we have now fixed the problems with the mesh.
 Click To Enlarge
Step 49
Create a new Cylinder with 32 Sides and no Height or Cap Segments. Convert it to Editable Poly and Delete the back polygon. Then select the front polygon, and Inset and Extrude it as shown.
 Click To Enlarge
Step 50
Now Bevel the front polygon, and also Chamfer the Edges as shown.
 Click To Enlarge
Step 51
Once again, add a Smooth Modifier and place the object here.
 Click To Enlarge
Step 52
Create a New Box with 6 Length Segments, and Convert it to Editable Poly.
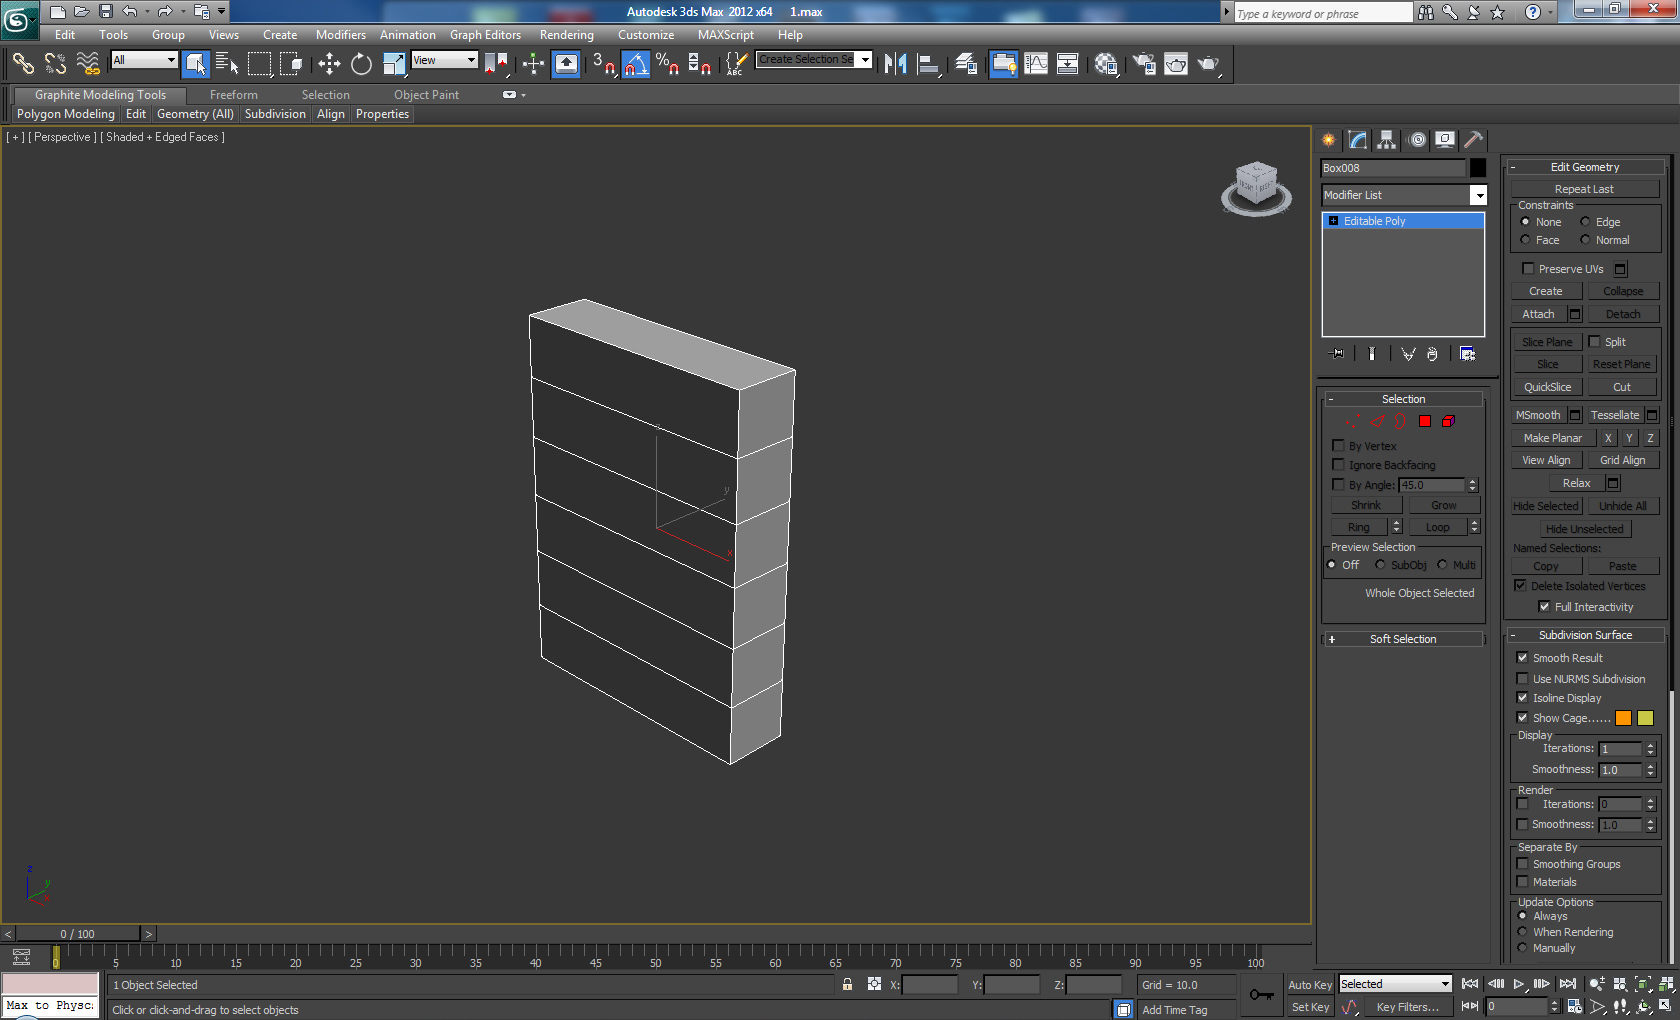 Click To Enlarge
Step 53
Next add 3 Edge Loops and adjust the Verticies to get something like this.
 Click To Enlarge
Step 54
Delete the Top and Bottom polygons, Select the Three loops and Scale them outwards.
 Click To Enlarge
Step 55
Next using the Border option, select the bottom edges and Shift+Scale them outwards to get this result.
 Click To Enlarge
Step 56
Holding Shift, use the Move tool to Extrude the bottom border downwards. With the border still selected, click the Cap option in the Edit Poly rollout to fill the hole. Then go into vertex mode and select the verticies on each side of the bottom. Use Connect to connect each pair of verts with a new edge.
 Click To Enlarge
Step 57
Add some additional Edge Loops in the places shown below, using the Ring and Connect commands.
 Click To Enlarge
Step 58
Next add a Turbosmooth Modifier with 2 Iterations, and position the hand grip in the location shown.
 Click To Enlarge
Step 59
Create three new Tubes and convert them to Editable Poly. After that unite them into a single object using the Attach option from the "Edit Geometry" menu of the Edit Poly rollout. Delete the back polygons on each, and then using the Border option, Shift+Drag the inside edges back as shown.
 Click To Enlarge
Step 60
Chamfer the inside and outside edge loops of each of the three elements. Use a low amount, and set the Edge Segments to 2.
 Click To Enlarge
Step 61
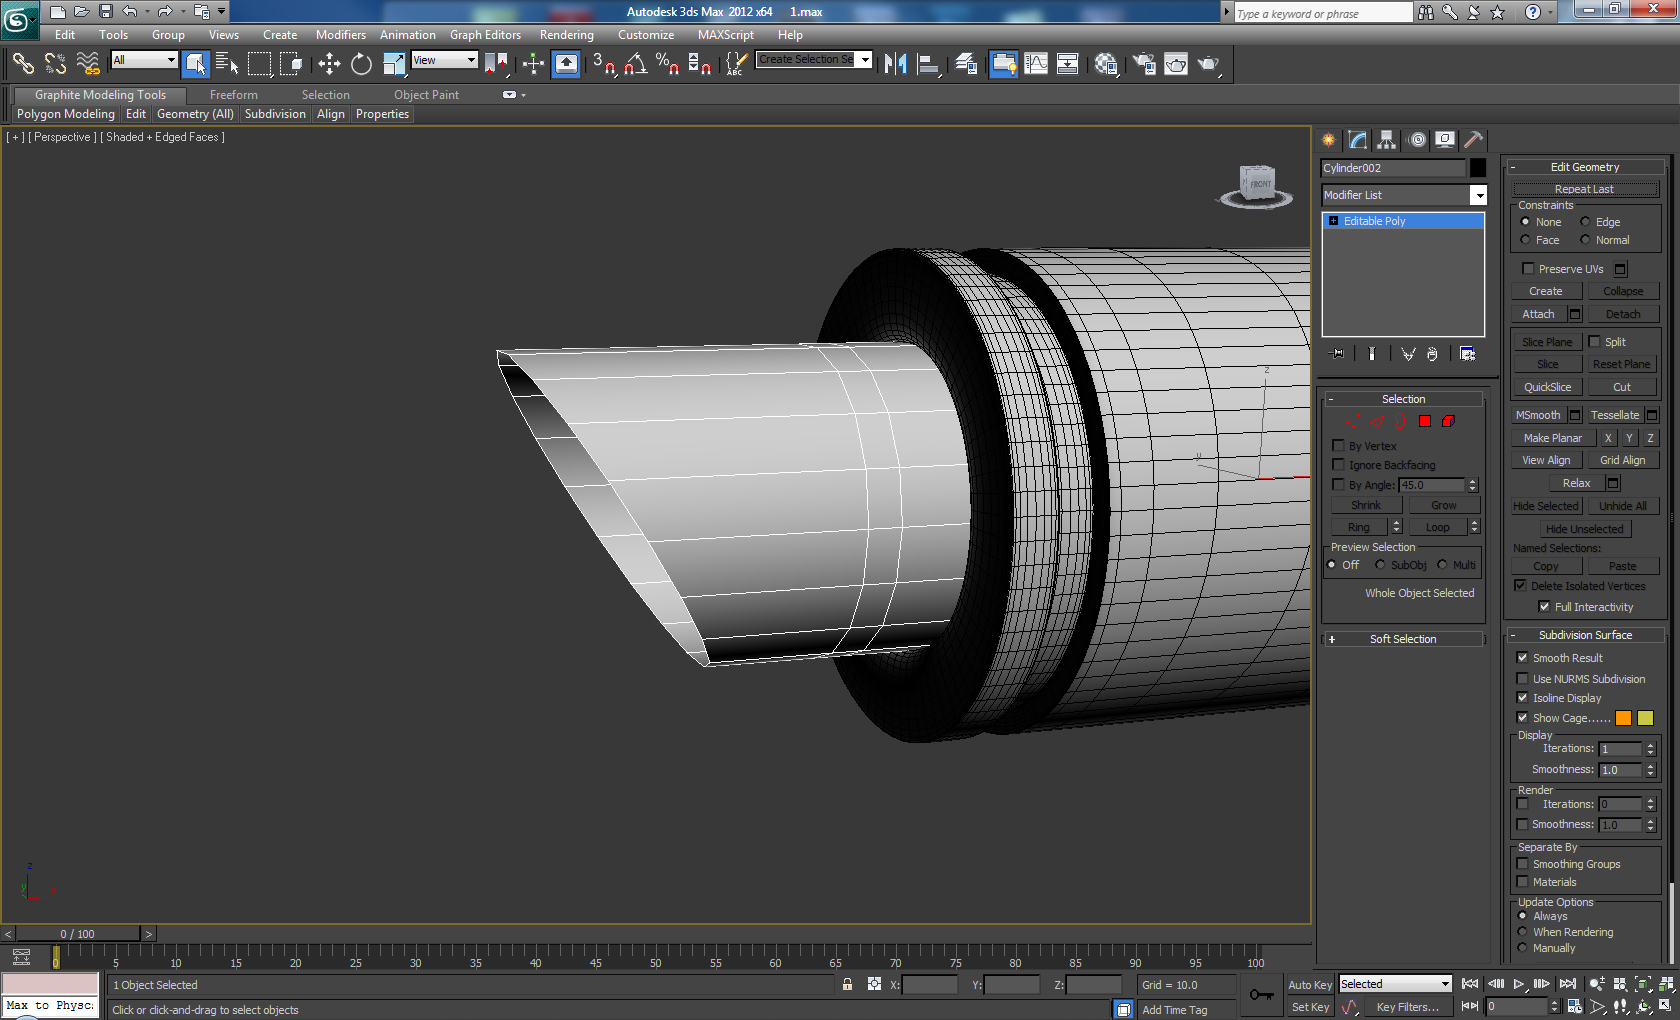
Now let's come back to the main body and add additional Edge Loops as shown. This will make it easier for us to create holes for the gun barrels.
 Click To Enlarge
Step 62
Delete the polygons shown.
 Click To Enlarge
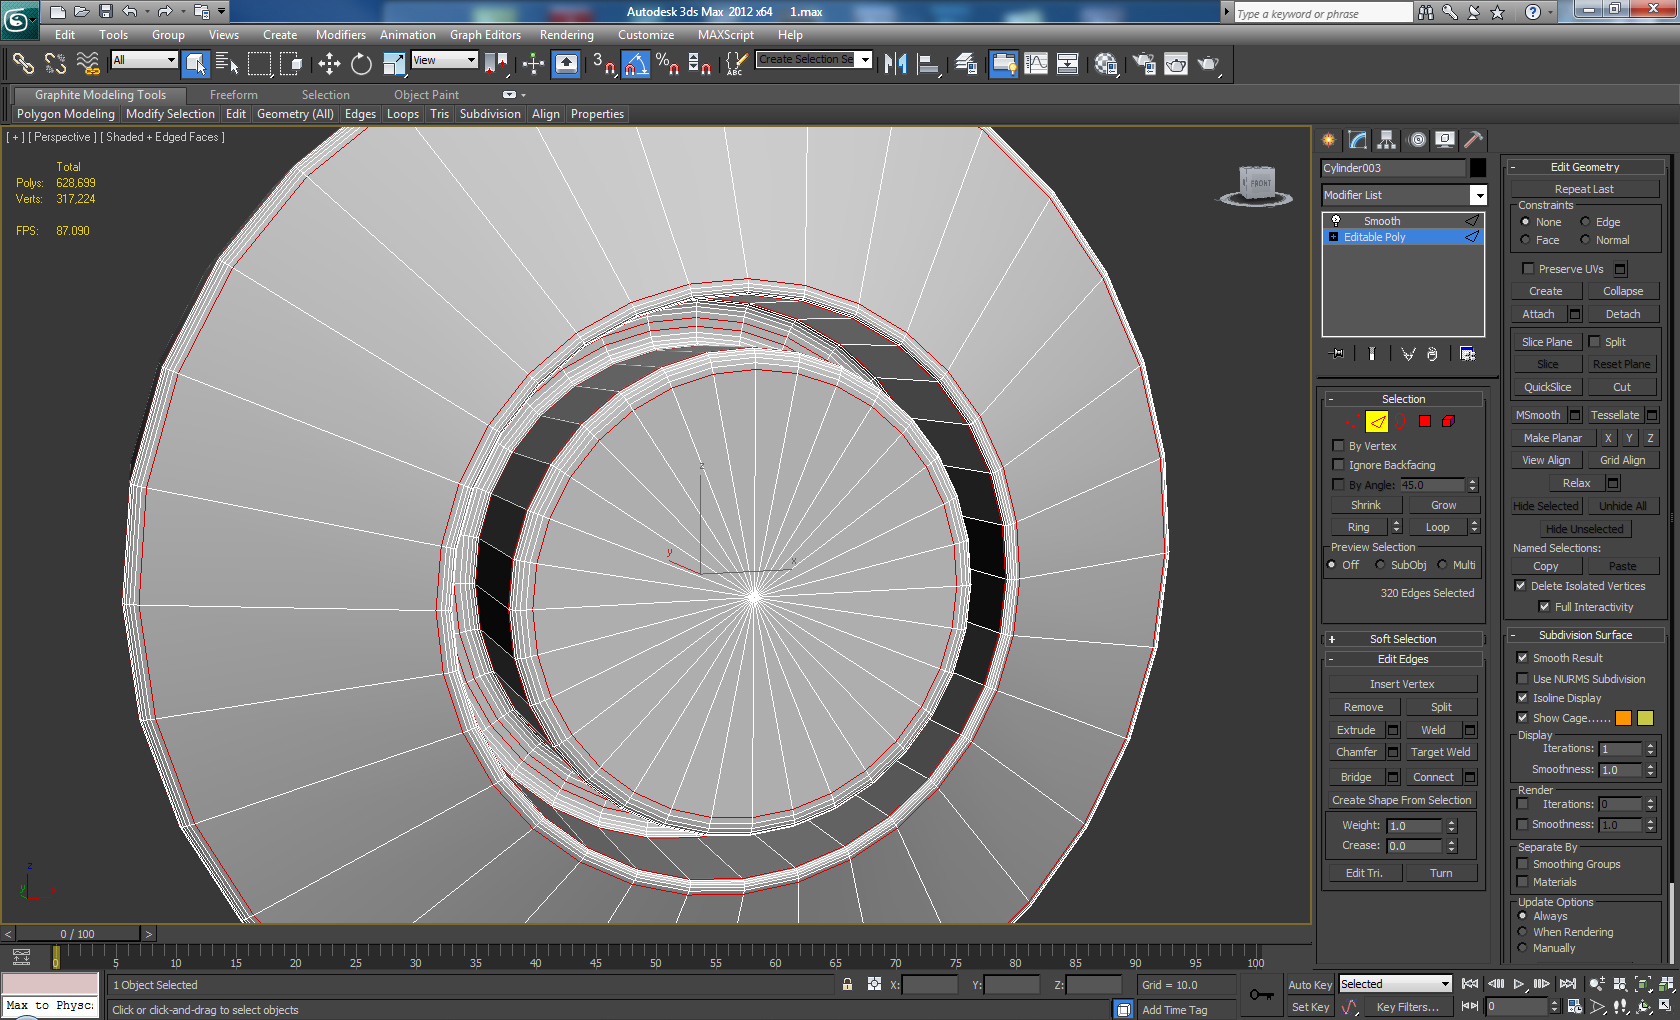
Step 63
Move the vertices around to get the shapes shown for each hole. They need to be big enough so we can put the gun barrels in there.
 Click To Enlarge
Step 64
Now let's go back to the gun barrels. We need to first Cap the back sides using the Cap option. After, Chamfer the edges with a medium amount and around 4 Edge Segments, so the result looks like so.
 Click To Enlarge
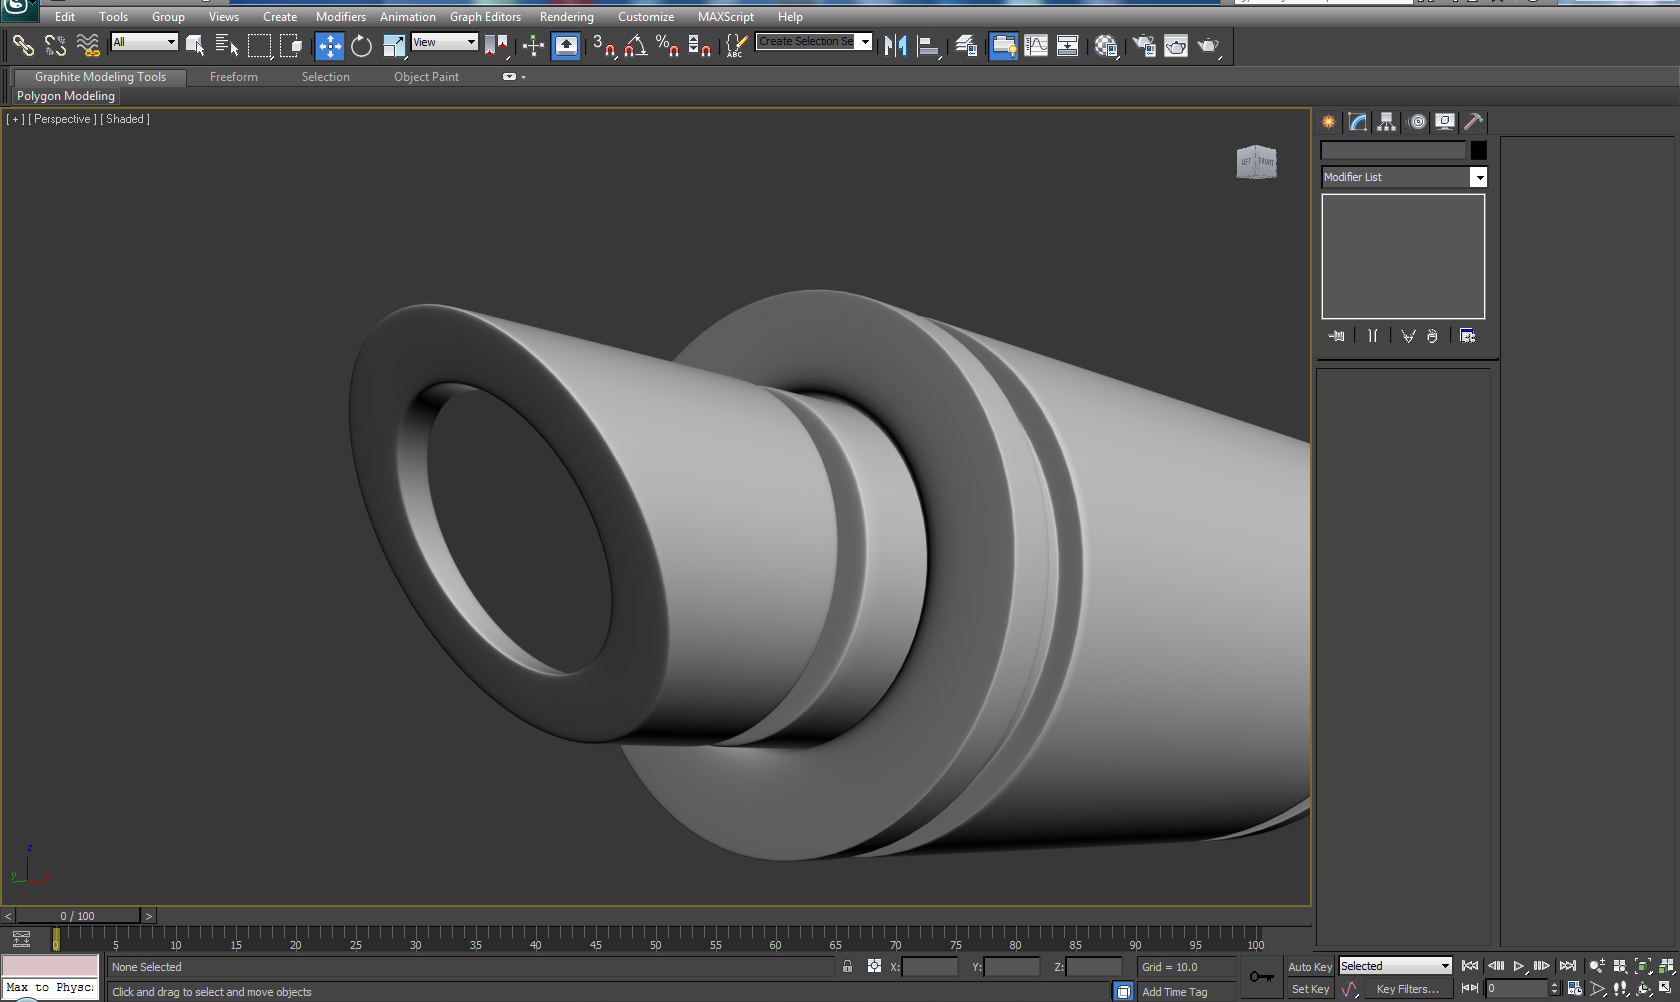
Step 65
Add a Turbosmooth with 2 Iterations and place the barrels as shown below.
 Click To Enlarge
Step 66
Create new Cylinder with 18 Sides and Convert it to Editable Poly, after that add two Edge Loops as shown.
 Click To Enlarge
Step 67
Select a couple of groups of two polygons, leave a distance of four polygons between the selections.
 Click To Enlarge
Step 68
Add a Bevel and delete the polygons. After that add more loops as shown.
 Click To Enlarge
Step 69
Extrude the polygons between the loops we just created. Add a Bevel two times on the front polygon until it looks like so.
 Click To Enlarge
Step 70
Add a Bevel 3 more times on the tip of the bullet. Once inwards and twice outwards, so the tip of it looks like below.
 Click To Enlarge
Step 71
Again Bevel the tip three more times, so the result looks similar to this.
 Click To Enlarge
Step 72
On the back polygon we first Extrude, then Inset and Extrude it.
 Click To Enlarge
Step 73
We need to Extrude the polygons we created with the previous extrude once again, using the same value we used on the first two extrudes at the beginning of the bullet modelling. After that Inset the back polygon, Bevel it inwards and once again Bevel it outwards using the same value. Finally Inset it once again to achieve the result shown below.
 Click To Enlarge
Step 74
Again Bevel the polygon two more times, then Inset it once and Extrude again inwards until you get this shape.
 Click To Enlarge
Step 75
On the front part, add new loops as shown in order to have nice, smooth edges when we smooth the bullet.
 Click To Enlarge
Step 76
Add more loops as shown to support the geometry and get a good shape after we add the Turbosmooth.
 Click To Enlarge
Step 77
We now add more edge loops on the back polygon. And once again Inset the middle polygon to avoid mesh errors after smoothing.
 Click To Enlarge
Step 78
Create new Cylinder with 80 sides, convert it into Editable Poly and Delete the front and back polygons. After that Select all the polygons and use - Bevel - by polygons to get this result.
 Click To Enlarge
Step 79
Use the Connect option and choose - Segments: 2, Pinch: 90.
 Click To Enlarge
Step 80
Add a Turbosmooth - Iterations: 2 on both objects, and place the object we just created inside the bullet as shown.
 Click To Enlarge
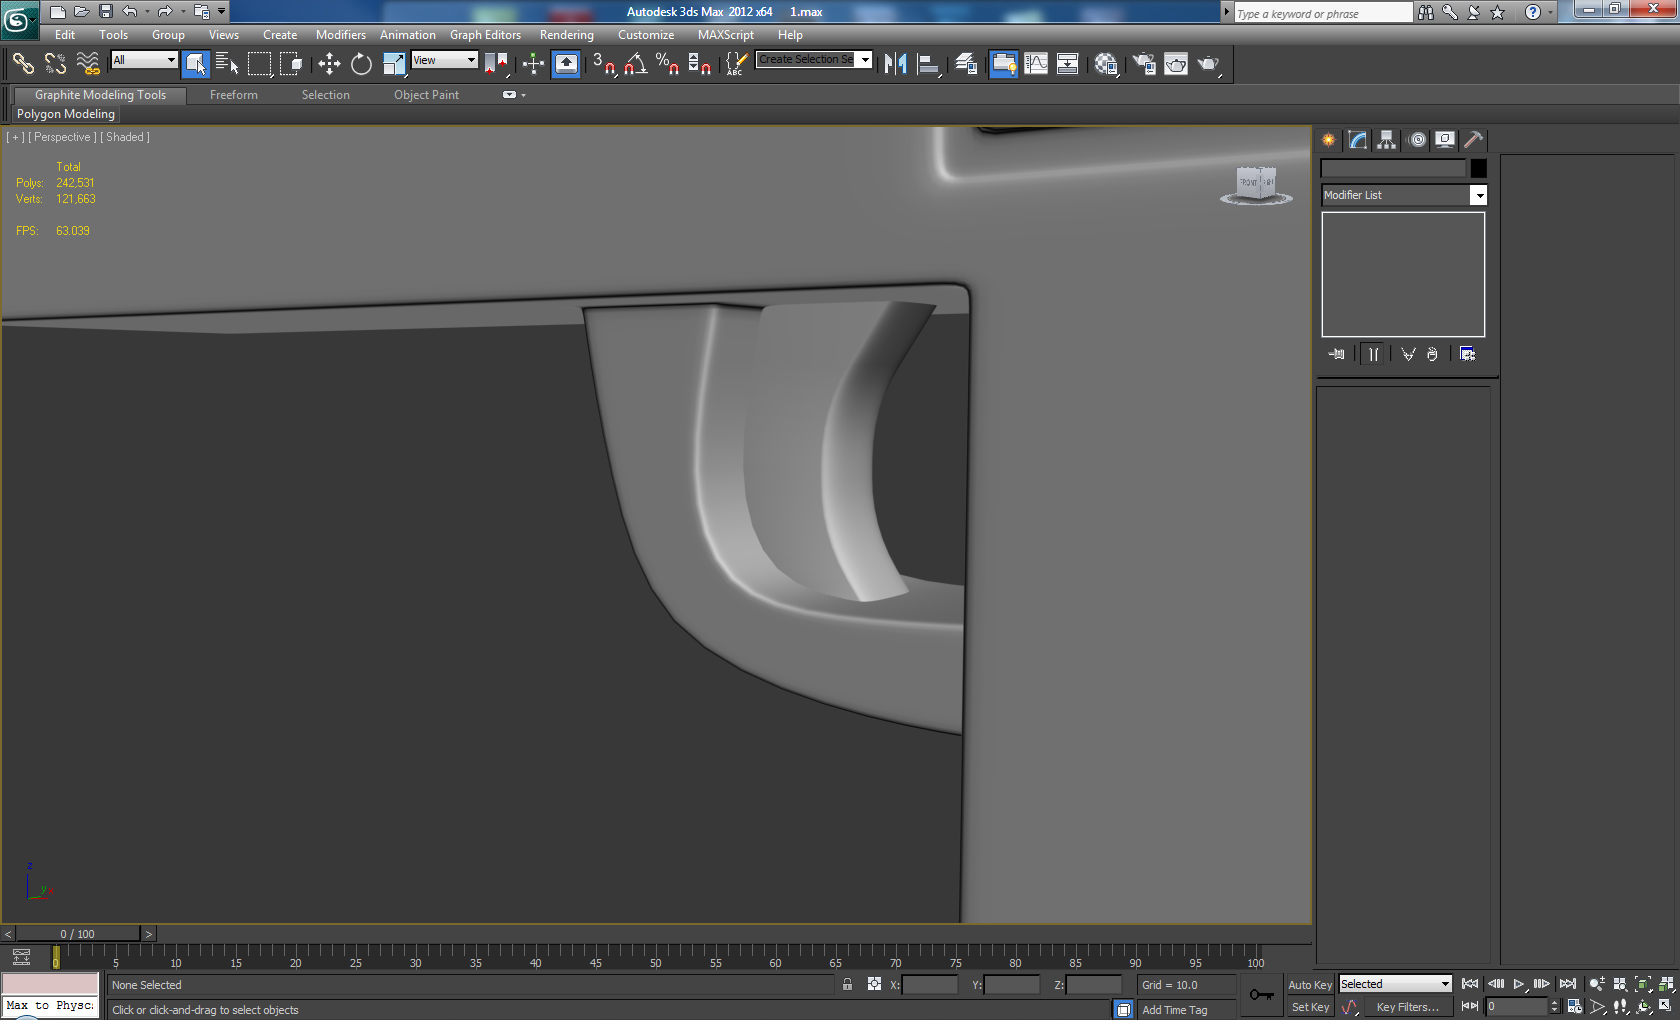
And that completes the tutorial!
From: http://cgi.tutsplus.com/tutorials/modeling-a-futuristic-bolt-gun-in-3d-studio-max--cg-16555
You must Sign up as a member of Effecthub to view the content.
A PHP Error was encountered
Severity: Notice
Message: Undefined index: HTTP_ACCEPT_LANGUAGE
Filename: helpers/time_helper.php
Line Number: 22
5549 views 9 comments
You must Sign up as a member of Effecthub to join the conversation.
A PHP Error was encountered
Severity: Notice
Message: Undefined index: HTTP_ACCEPT_LANGUAGE
Filename: helpers/time_helper.php
Line Number: 22
thanks